How to integrate Microsoft 365 with ChatMaxima?

Integrating your ChatMaxima account with Microsoft 365 offers a seamless way to manage communications and enhance customer engagement. This integration enables automated email responses, campaign management, and lead tracking all directly from the ChatMaxima dashboard. Additionally, it allows you to sync your Microsoft 365 contacts, messages, and mailing lists, making email marketing and customer support much more efficient.
Getting Started with ChatMaxima
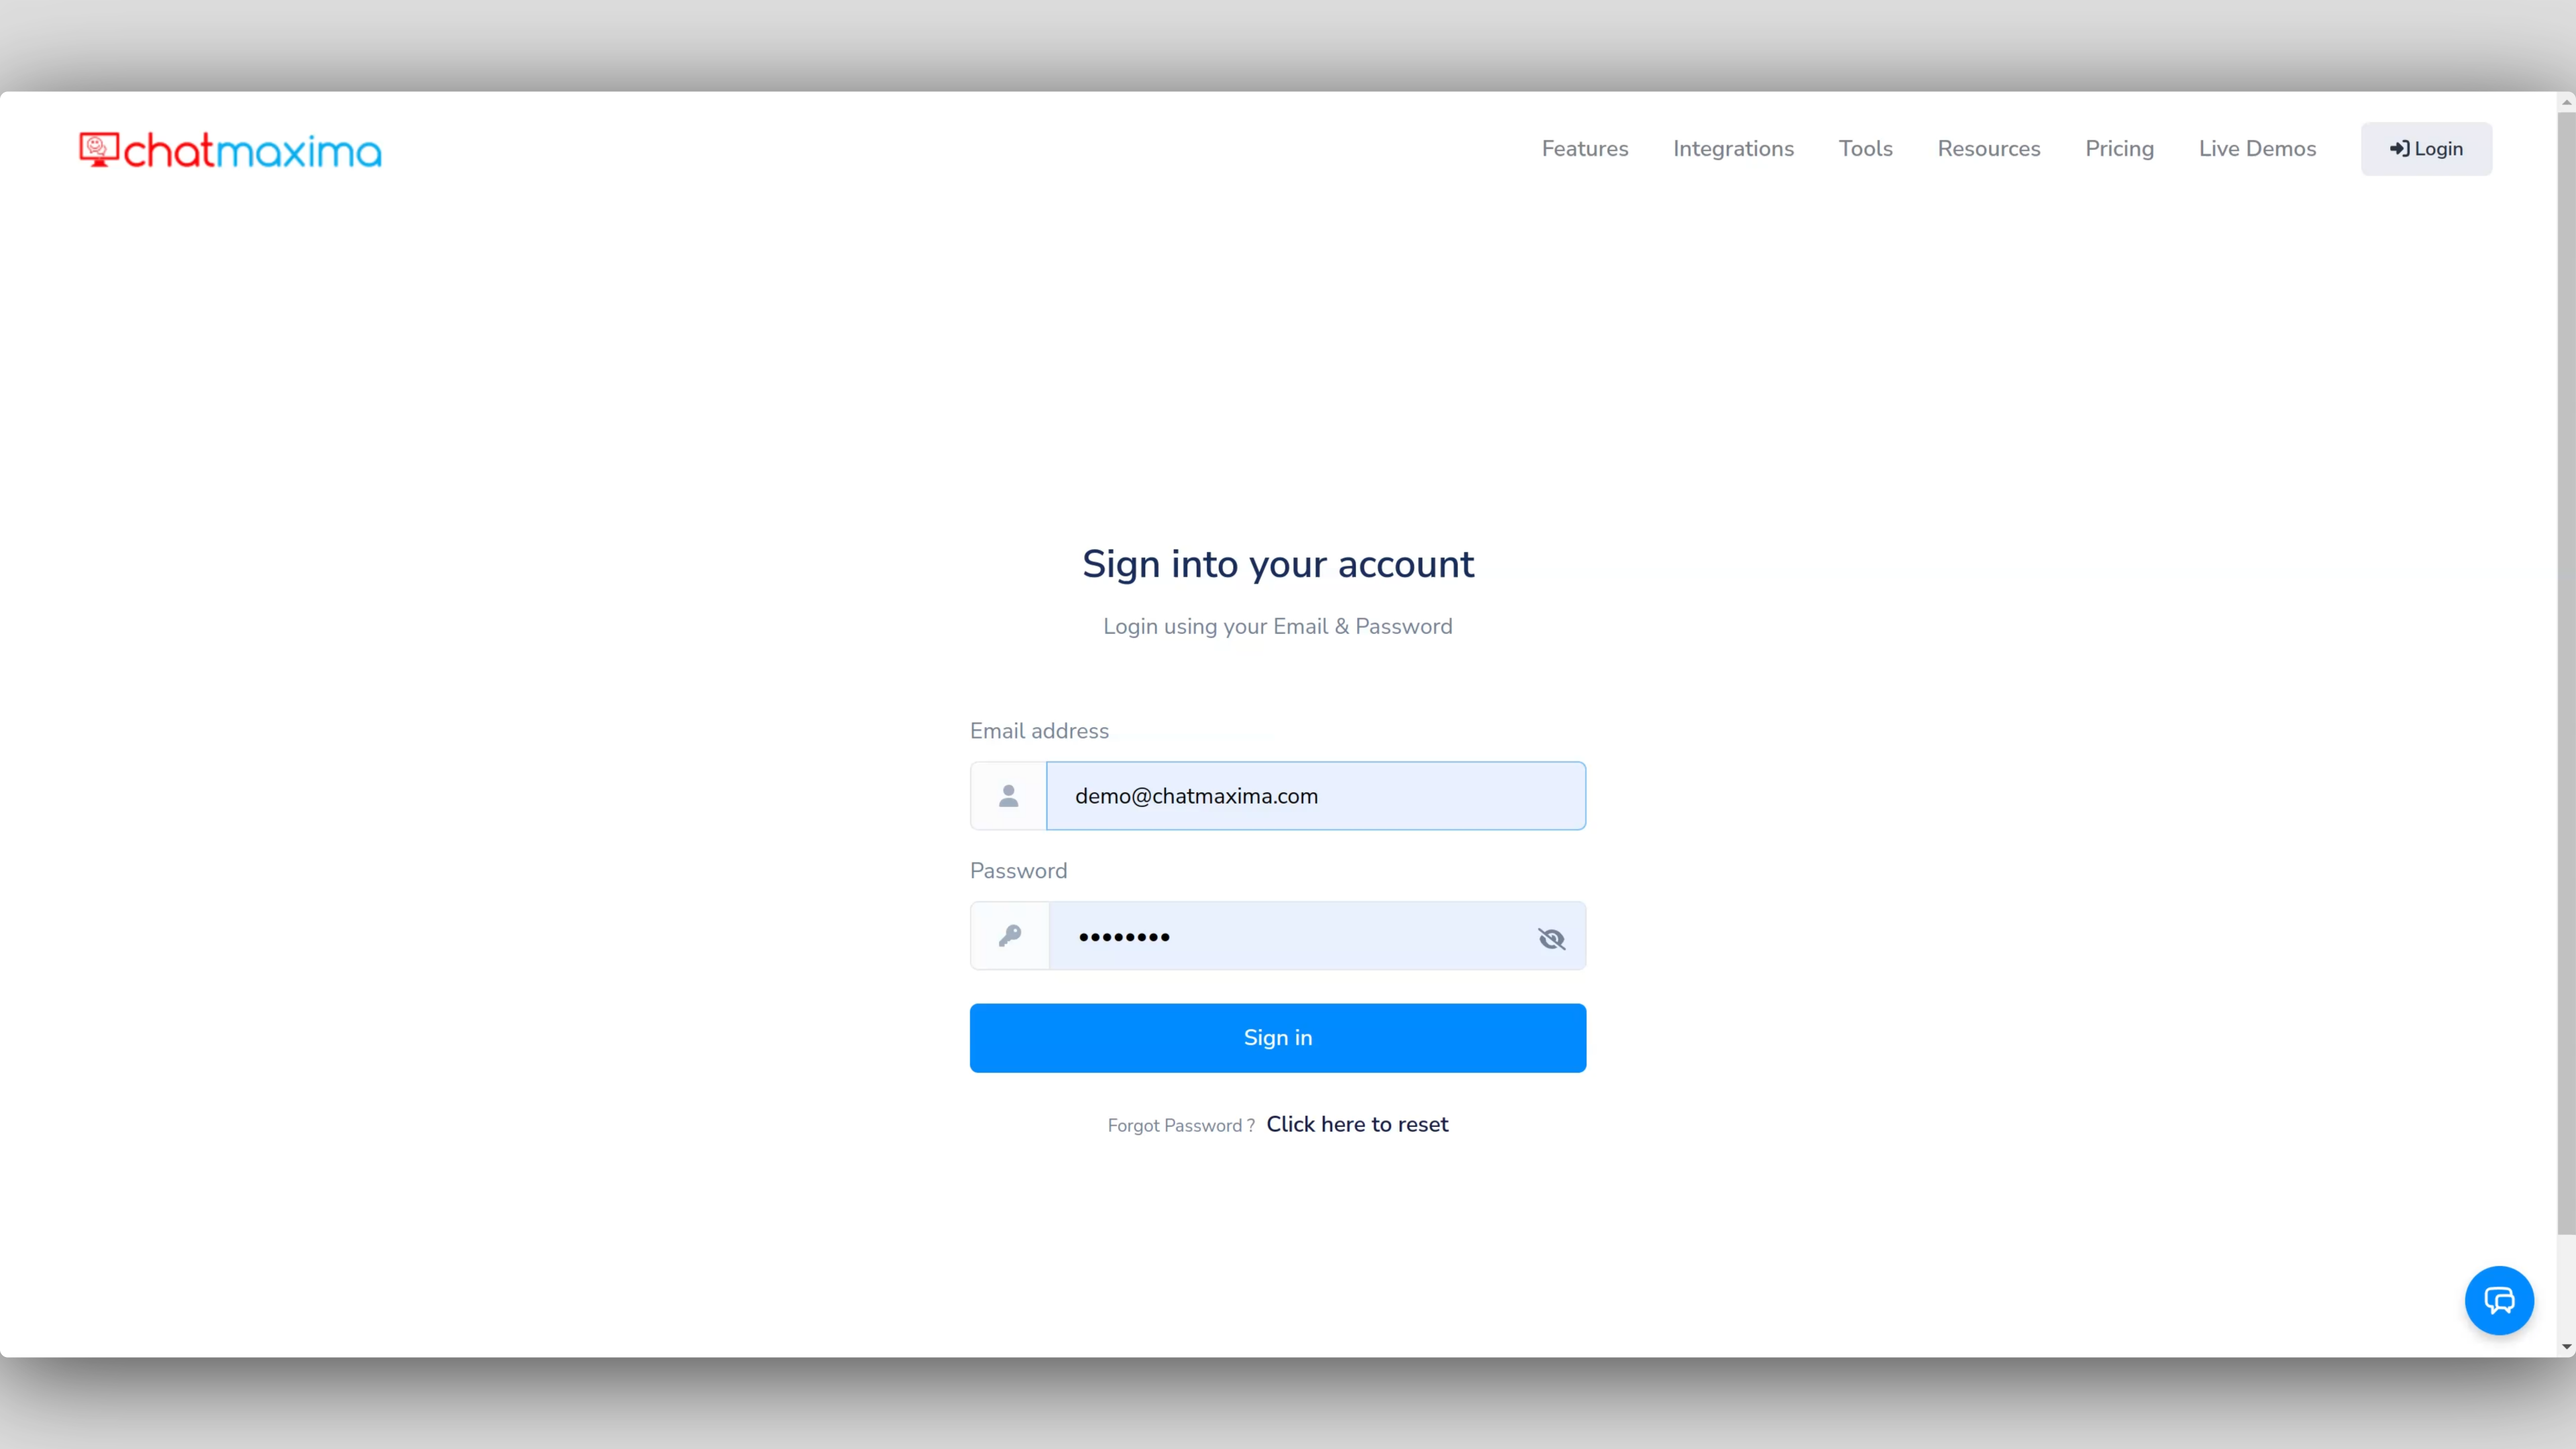
To initiate the integration, you'll first need a ChatMaxima account. If you don't have one yet, sign up and explore the platform with a free subscription. If you're already a user, simply log in using your credentials. Once inside, you'll have access to a powerful suite of communication tools that make integrating your Microsoft 365 account quick and simple.
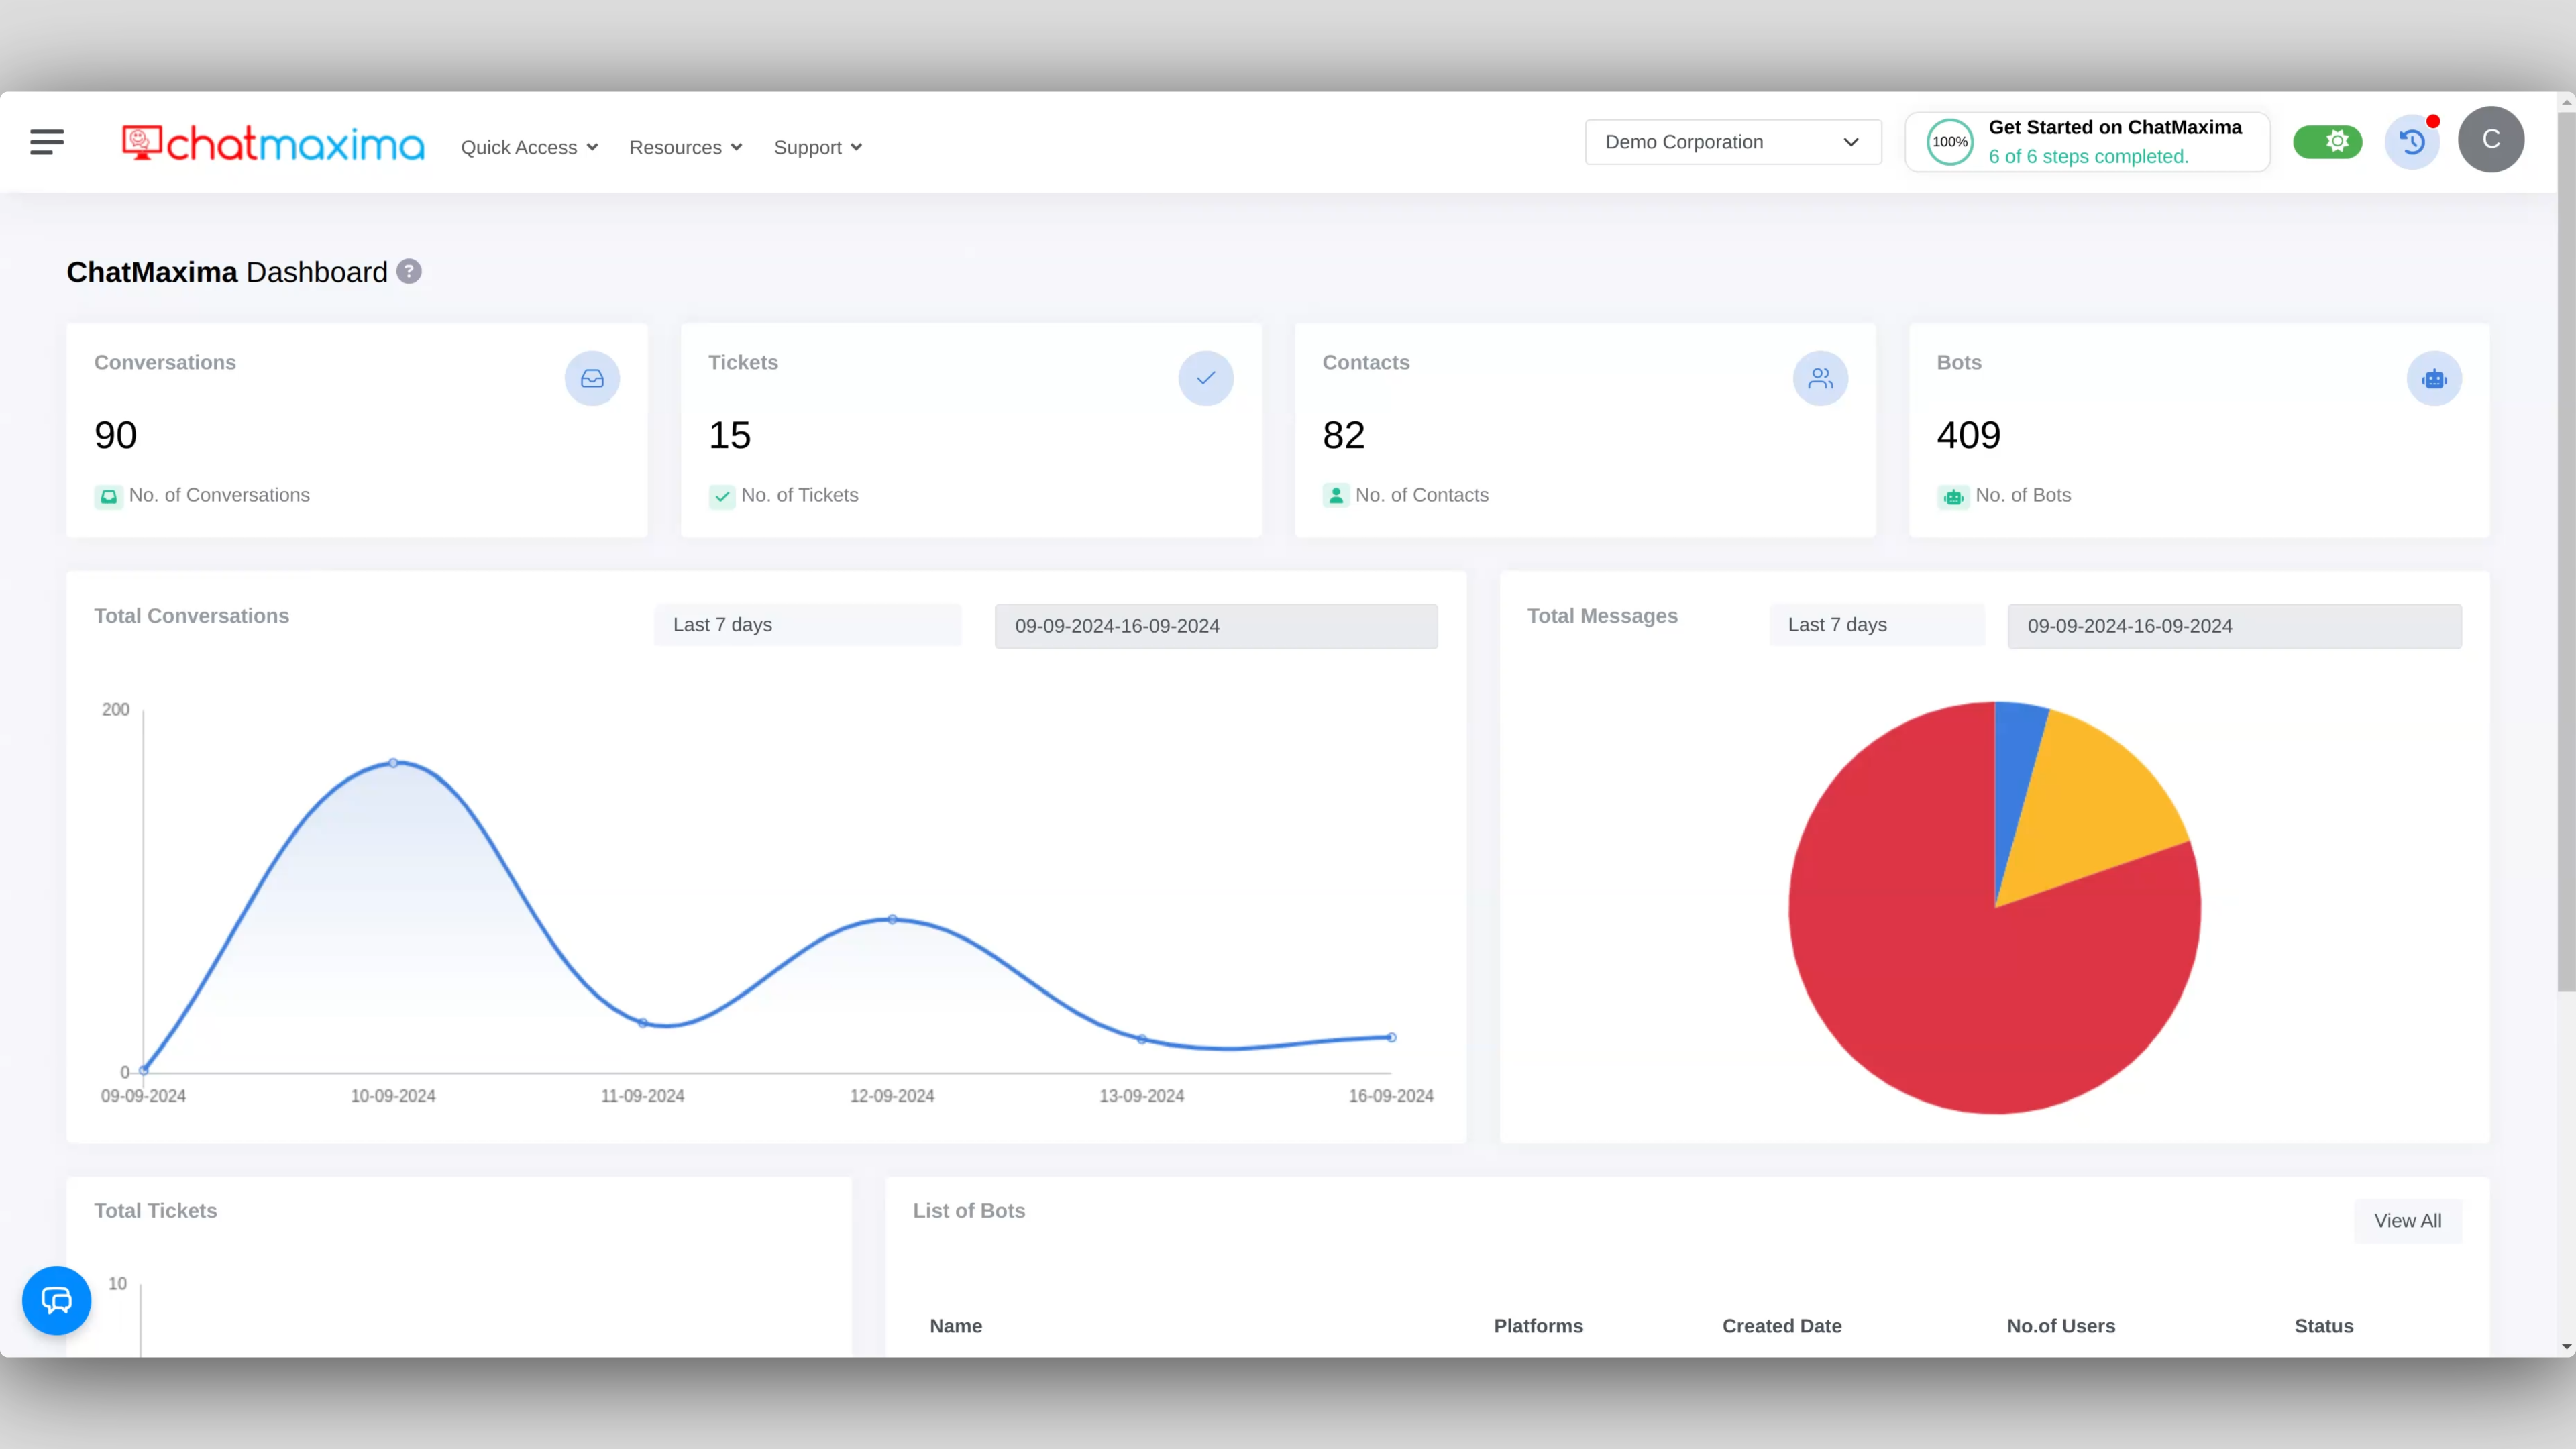
After logging in, you'll land on the ChatMaxima Dashboard, your central hub for managing chatbots, customer communications, and third-party integrations.
Steps to Integrate Microsoft 365 with ChatMaxima
To connect your Microsoft 365 account with ChatMaxima, follow these steps:
1. Access Email Integration in ChatMaxima
From the dashboard, go to Quick Access.
Click on Channels, then navigate to the Email Integration section.
2. Add Your Microsoft 365 Account
Select Add Email to start the integration.
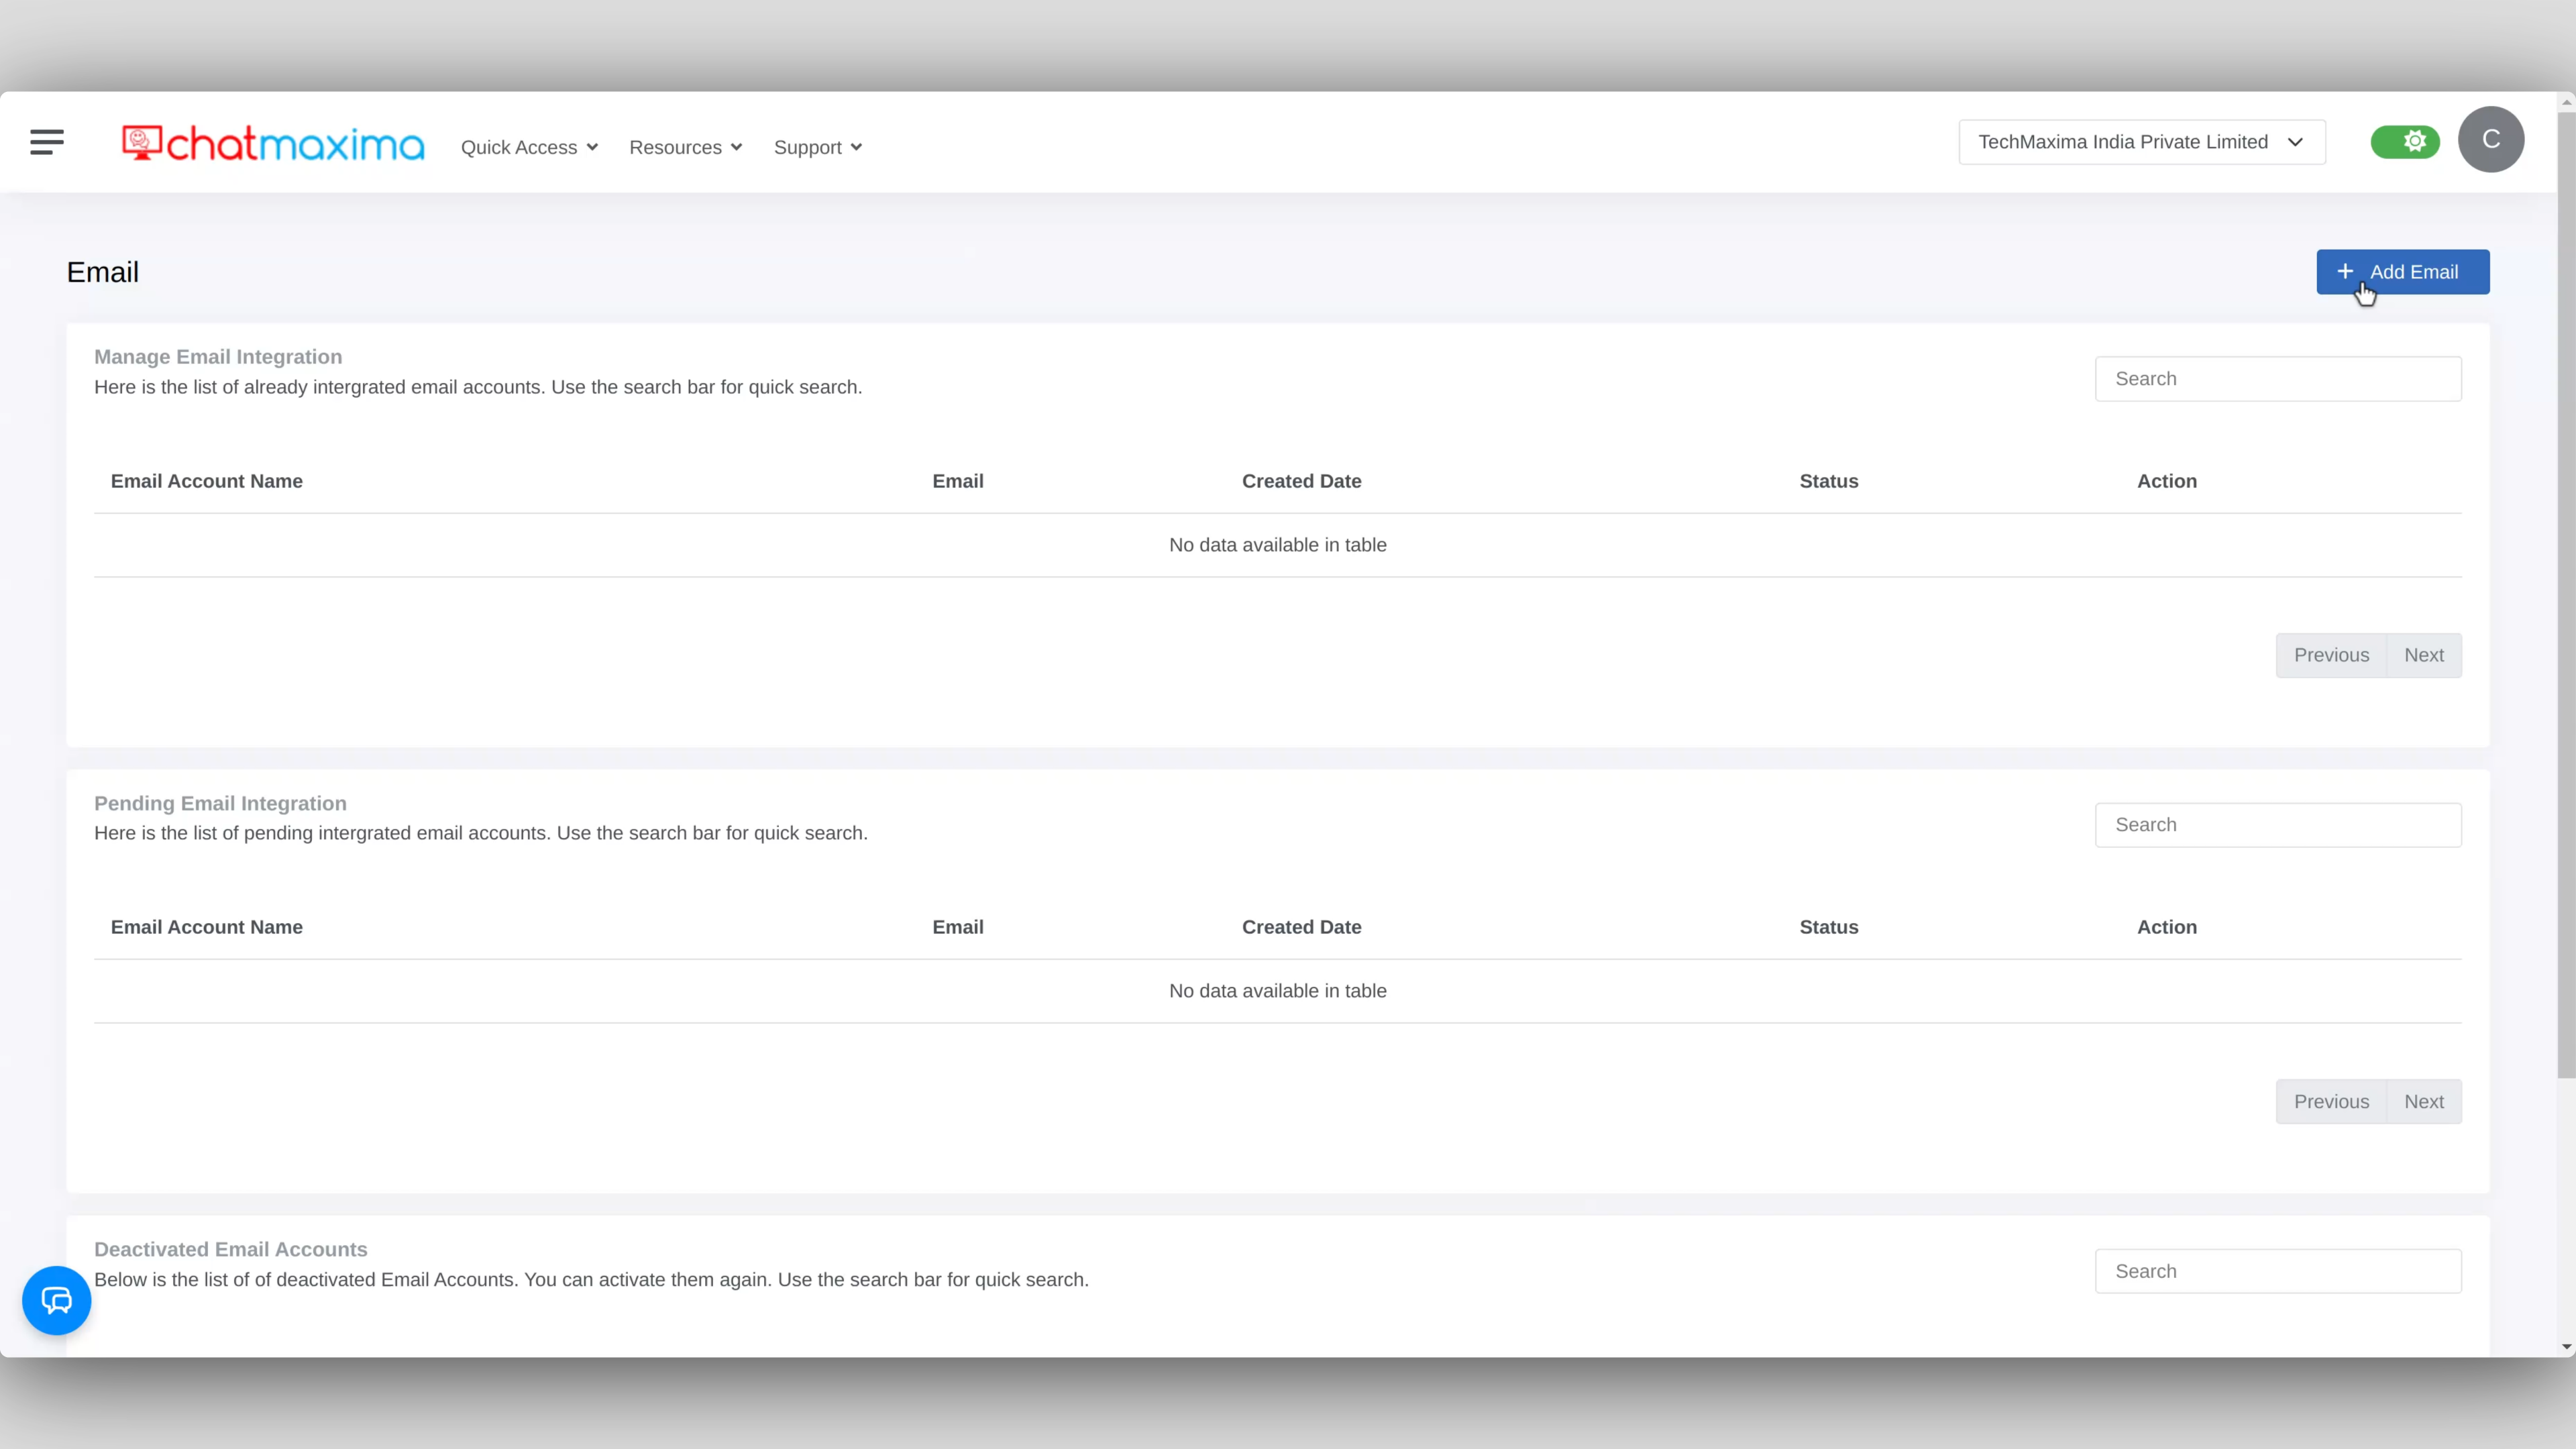
Enter the following information:
Email Account Friendly Name: Assign a name to easily recognize this account.
Email Address: Provide the Microsoft 365 email you wish to integrate.
3. Generate a Forwarding Email Address
Once you submit the details, ChatMaxima will generate a unique forwarding email address.
Copy this address as you will need it to set up email forwarding in Microsoft 365.
4. Submit and Verify
Click Submit to send a verification email to your Microsoft 365 account.
Open your Microsoft 365 inbox and confirm the verification by clicking on the link provided.
After verifying, return to ChatMaxima and go to the pending email integration section.
Click Verify Status to confirm the integration.
Setting Up Email Forwarding from Microsoft 365 to ChatMaxima
After successfully integrating your Microsoft 365 account with ChatMaxima, you need to configure email forwarding to ensure that relevant emails are directed to ChatMaxima for streamlined management. Follow these step-by-step instructions to complete the setup:
5. Log in to the Microsoft 365 Admin Center
Open a web browser and go to the Microsoft 365 Admin Center.
Sign in using your Microsoft 365 administrator credentials (email address and password).
Once logged in, you will be redirected to the Admin Center dashboard, which provides access to various account management tools.
6. Access Microsoft 365 Settings
On the left-hand menu, navigate to Users.
From the dropdown, select Active Users. This will display a list of all the users associated with your Microsoft 365 account.
7. Navigate to the Mailboxes Tab
In the Active Users section, locate and click on the user for whom you want to set up email forwarding.
Once the user’s profile is open, find the Mail tab in the sidebar, typically under User settings.
Click on the Mailboxes tab to access the email settings specific to that user.
8. Select a User Account
Within the Mailboxes section, find the email account that requires forwarding to ChatMaxima.
Click on the specific user’s name to bring up their detailed email settings, which include the option for email forwarding.
9. Modify Mail Settings
In the user’s profile, under Mail, scroll down to find the Email Forwarding settings.
Click on Manage email forwarding to open the forwarding options for this user account.
10. Set Up Email Automatic Forwarding
In the Manage Email Forwarding section, click on Manage outbound anti-spam policies.
Locate the Anti-spam outbound policy (Default) and click on Edit protection settings.
Under the protection settings, find the option for Automatic Forwarding and switch it to On – Forwarding is enabled.
Save the changes to activate automatic email forwarding for this account.
11. Configure Email Forwarding
Once automatic forwarding is enabled, return to the Manage email forwarding section.
Select Forward all emails sent to this mailbox.
Enter the forwarding email address provided by ChatMaxima, such as example@mailservice.chatmaxima.com.
This email address ensures that all emails from this Microsoft 365 user account are forwarded to ChatMaxima for handling and processing.
13. Option to Keep a Copy
If you want to retain a copy of forwarded emails in the original Microsoft 365 inbox, check the box labeled Keep a copy of forwarded email.
This option allows the user to view the original emails in their Microsoft 365 account while ChatMaxima also receives the forwarded copies.
14. Save Changes
After configuring the forwarding address and selecting whether to keep a copy
Scroll down and click Save changes to finalize the setup. This will apply all the changes made to the email forwarding settings.
Complete Your Microsoft 365 and ChatMaxima Integration
Once you’ve completed the steps above, your Microsoft 365 account is set to forward all incoming emails to the ChatMaxima platform. This integration streamlines email management, allowing you to handle customer inquiries, manage email marketing campaigns, and engage with leads all from the ChatMaxima dashboard.
By centralizing your email workflow within ChatMaxima, you simplify communication management, ensuring that no customer interaction is missed and that your marketing efforts remain organized and effective.