How to connect your Zoho Mail with ChatMaxima?

Integrating your ChatMaxima account with Zoho Mail simplifies communication and boosts customer engagement. This integration enables you to automate responses, manage email campaigns, and track leads directly from the ChatMaxima dashboard. Additionally, you can sync Zoho Mail contacts, messages, and mailing lists, making it easier to manage email marketing and customer support.
Getting Started with ChatMaxima
To begin, sign up for a ChatMaxima account and explore the platform with a free subscription. If you’re already a user, simply log in using your credentials. Once logged in, you’ll have access to powerful communication tools that make integrating your Zoho Mail account seamless.
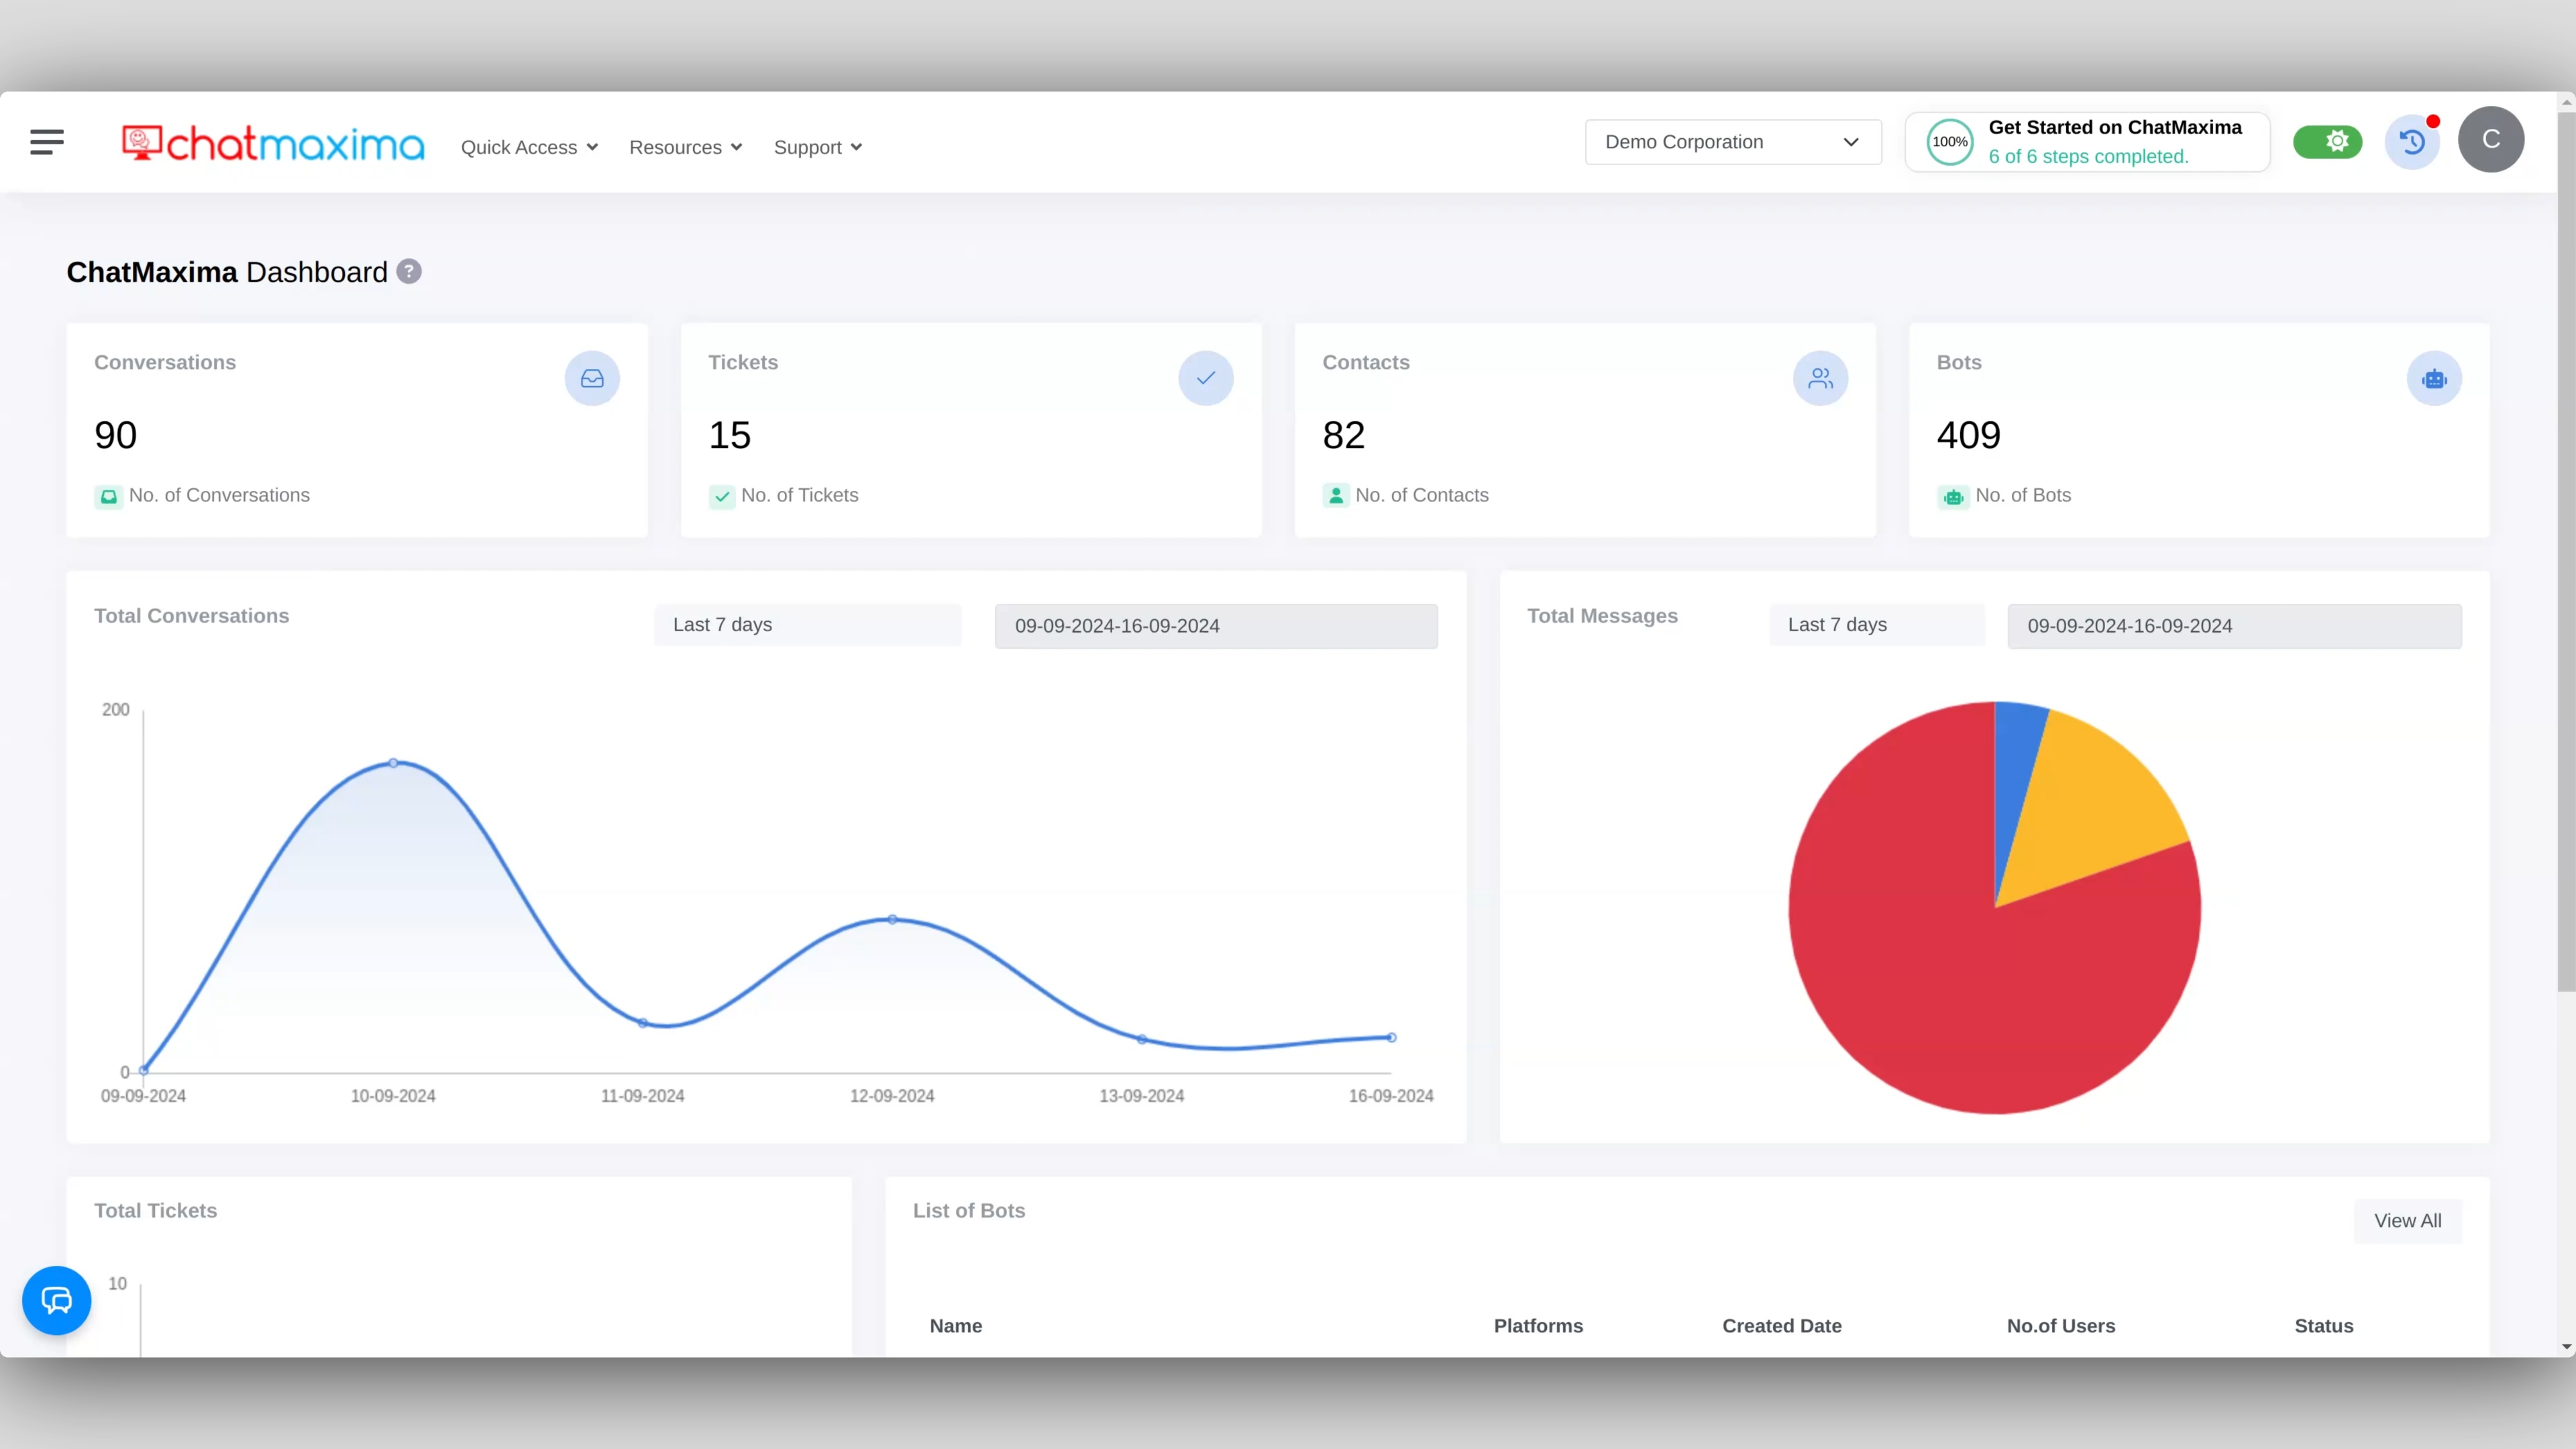
After logging in, you will be directed to the ChatMaxima Dashboard, which serves as your central hub for managing chatbots, customer communications, and integrations.
Steps to Integrate Zoho Mail with ChatMaxima
Follow these simple steps to connect your Zoho Mail account to ChatMaxima:
1. Access Email Integration in ChatMaxima
From the dashboard, navigate to Quick Access, then Channels.
Click on Email Integration.
2. Add Your Zoho Mail Account
Click Add Email to begin the integration process.
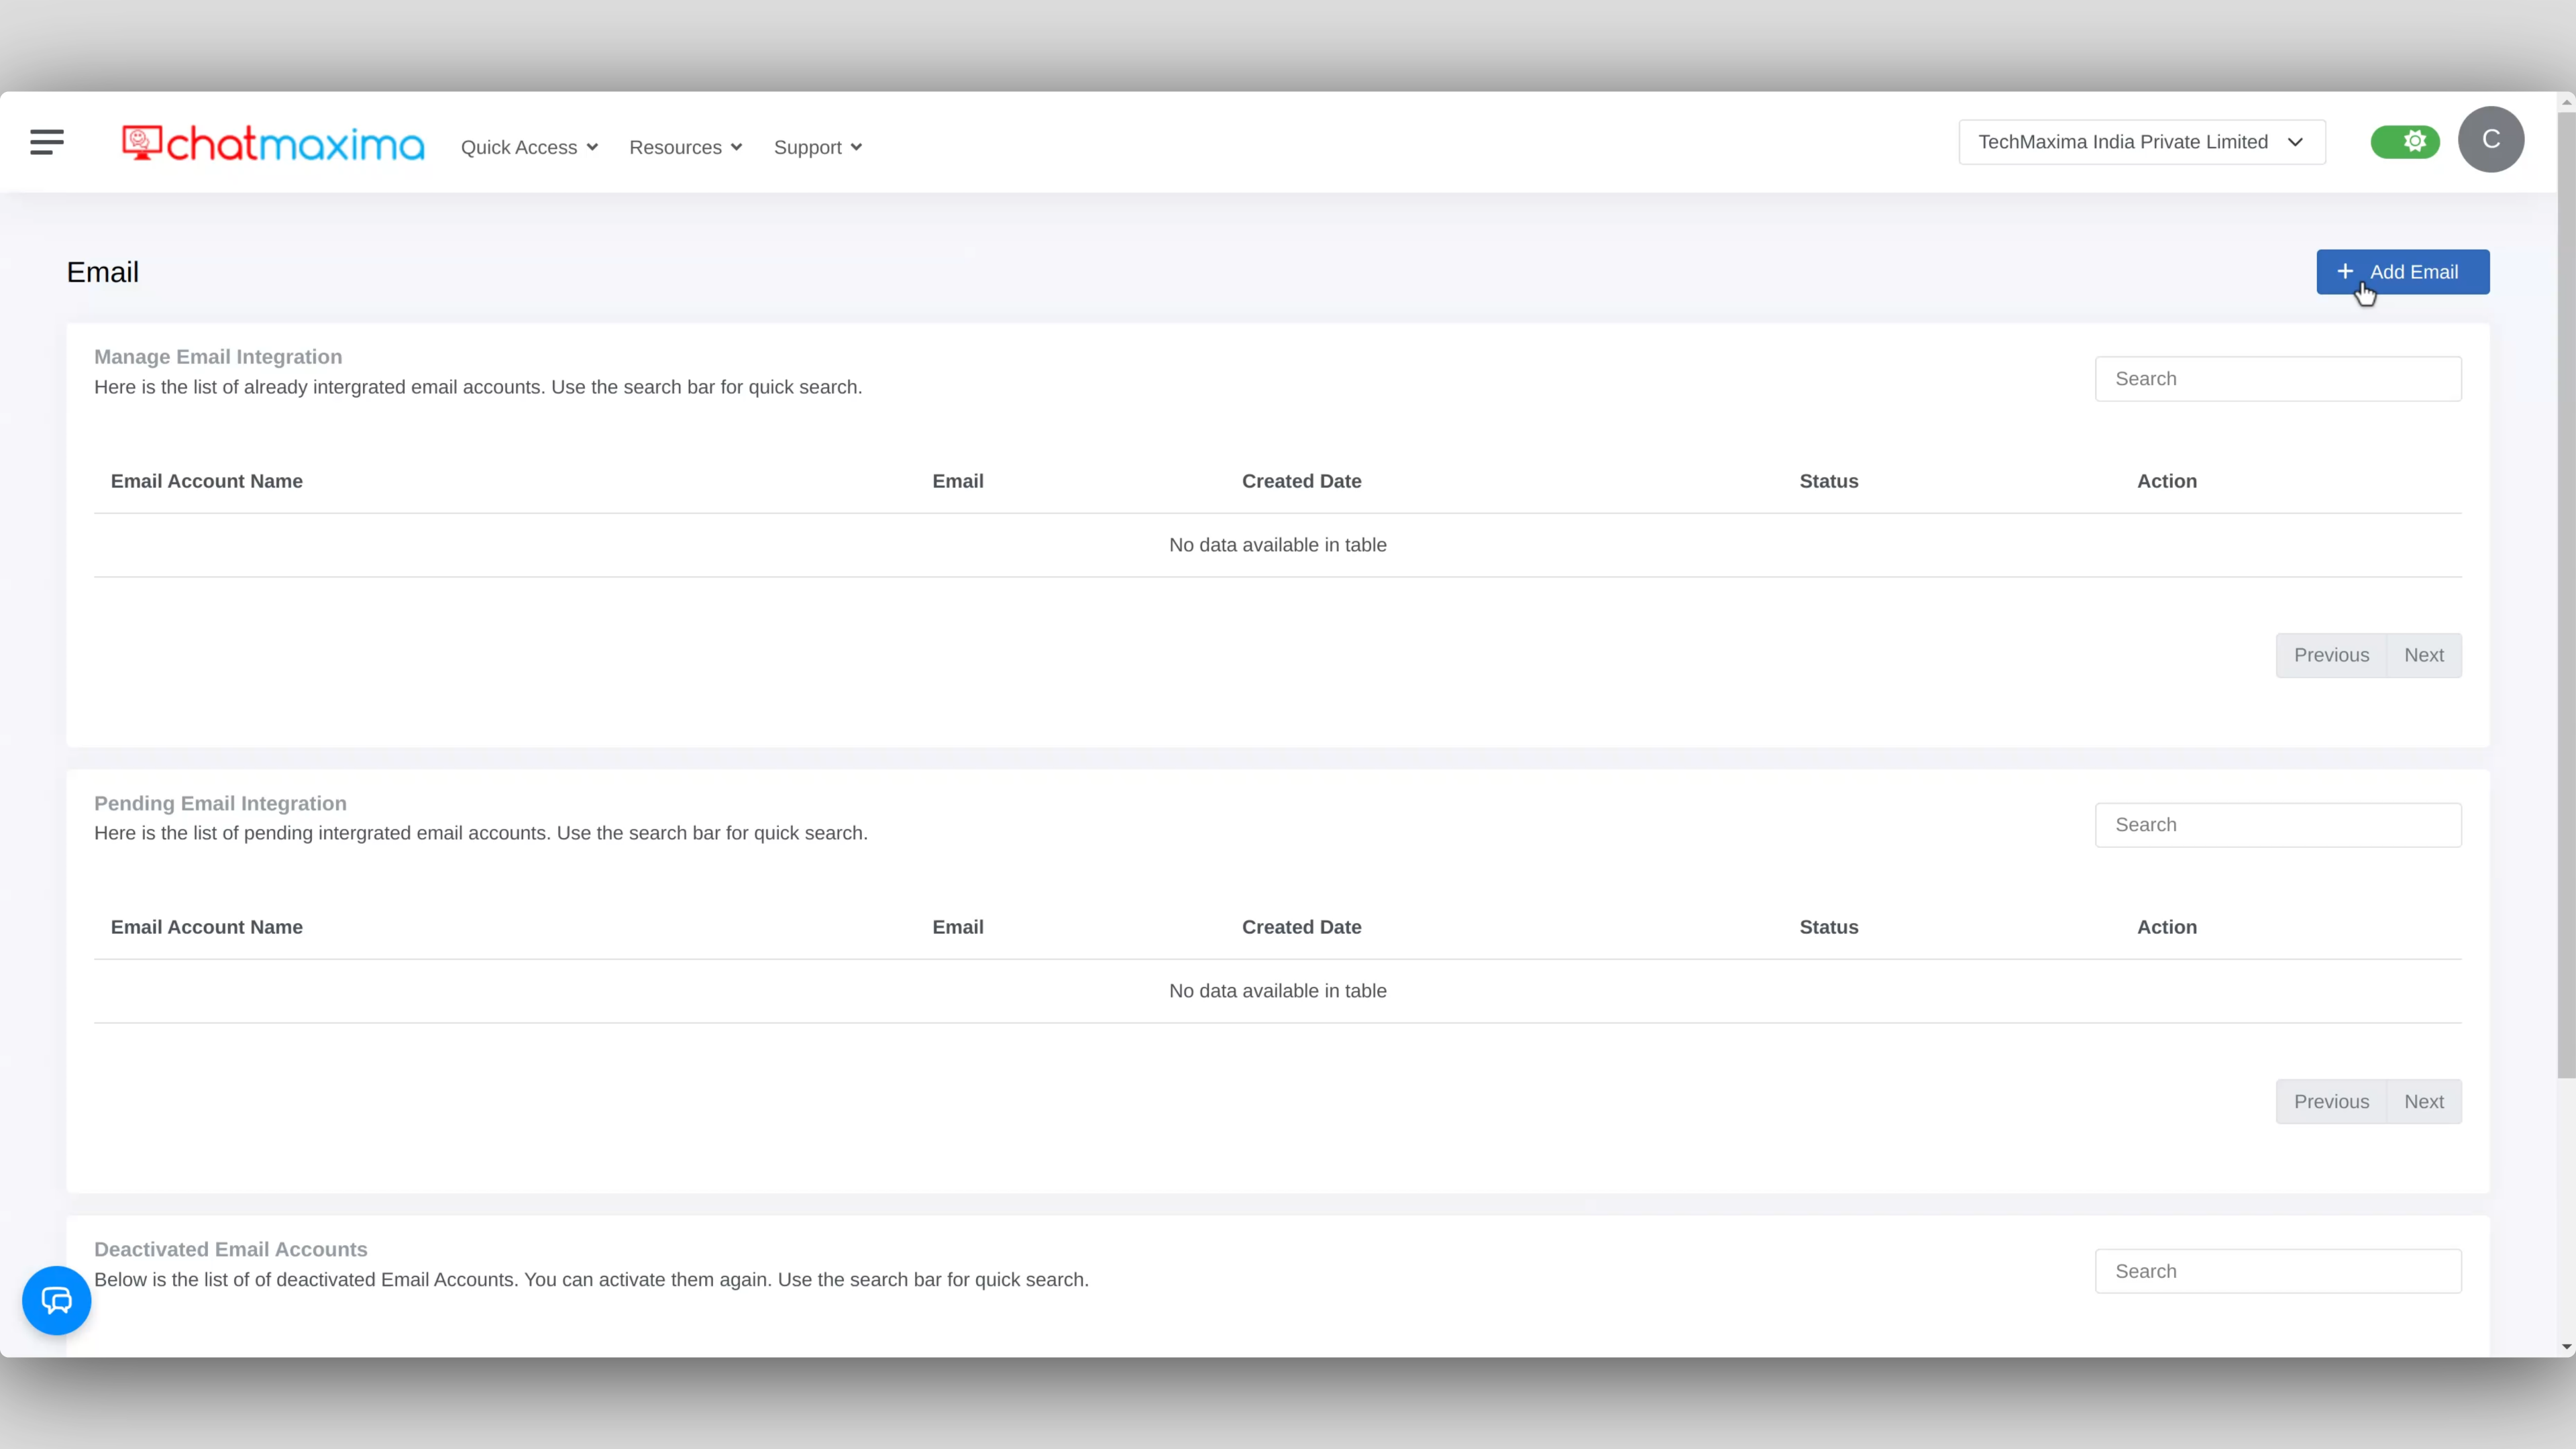
Provide the following details:
Email Account Friendly Name: Assign a recognizable name to your Zoho Mail account.
Email Address: Enter the Zoho Mail address you wish to integrate.
3. Copy the Forwarding Email Address
After entering your email details, ChatMaxima will generate a unique forwarding email address.
Copy this email address for use in the next step.
4. Complete the Integration
Click Submit to send a verification email to your Zoho Mail account.
Open Zoho Mail, verify your email by clicking on the link in the confirmation email.
In ChatMaxima, return to the pending email integration section and click Verify Status.
A confirmation message will appear. Click Click Here to proceed to the final step of configuring email forwarding.
Configuring Zoho Mail for Email Forwarding to ChatMaxima
To enable Zoho Mail to forward emails to ChatMaxima, follow these steps:
5. Log in to Zoho Mail
Sign in to your Zoho Mail account and navigate to Settings.
6. Go to Mail Accounts
Under Mail Accounts, you’ll find a list of email accounts configured with your Zoho Mail.
7. Select the Account for Forwarding
Choose the email address that you want to forward.
8. Set Up Forwarding
In the Forwards section, enter the forwarding email address provided by ChatMaxima.
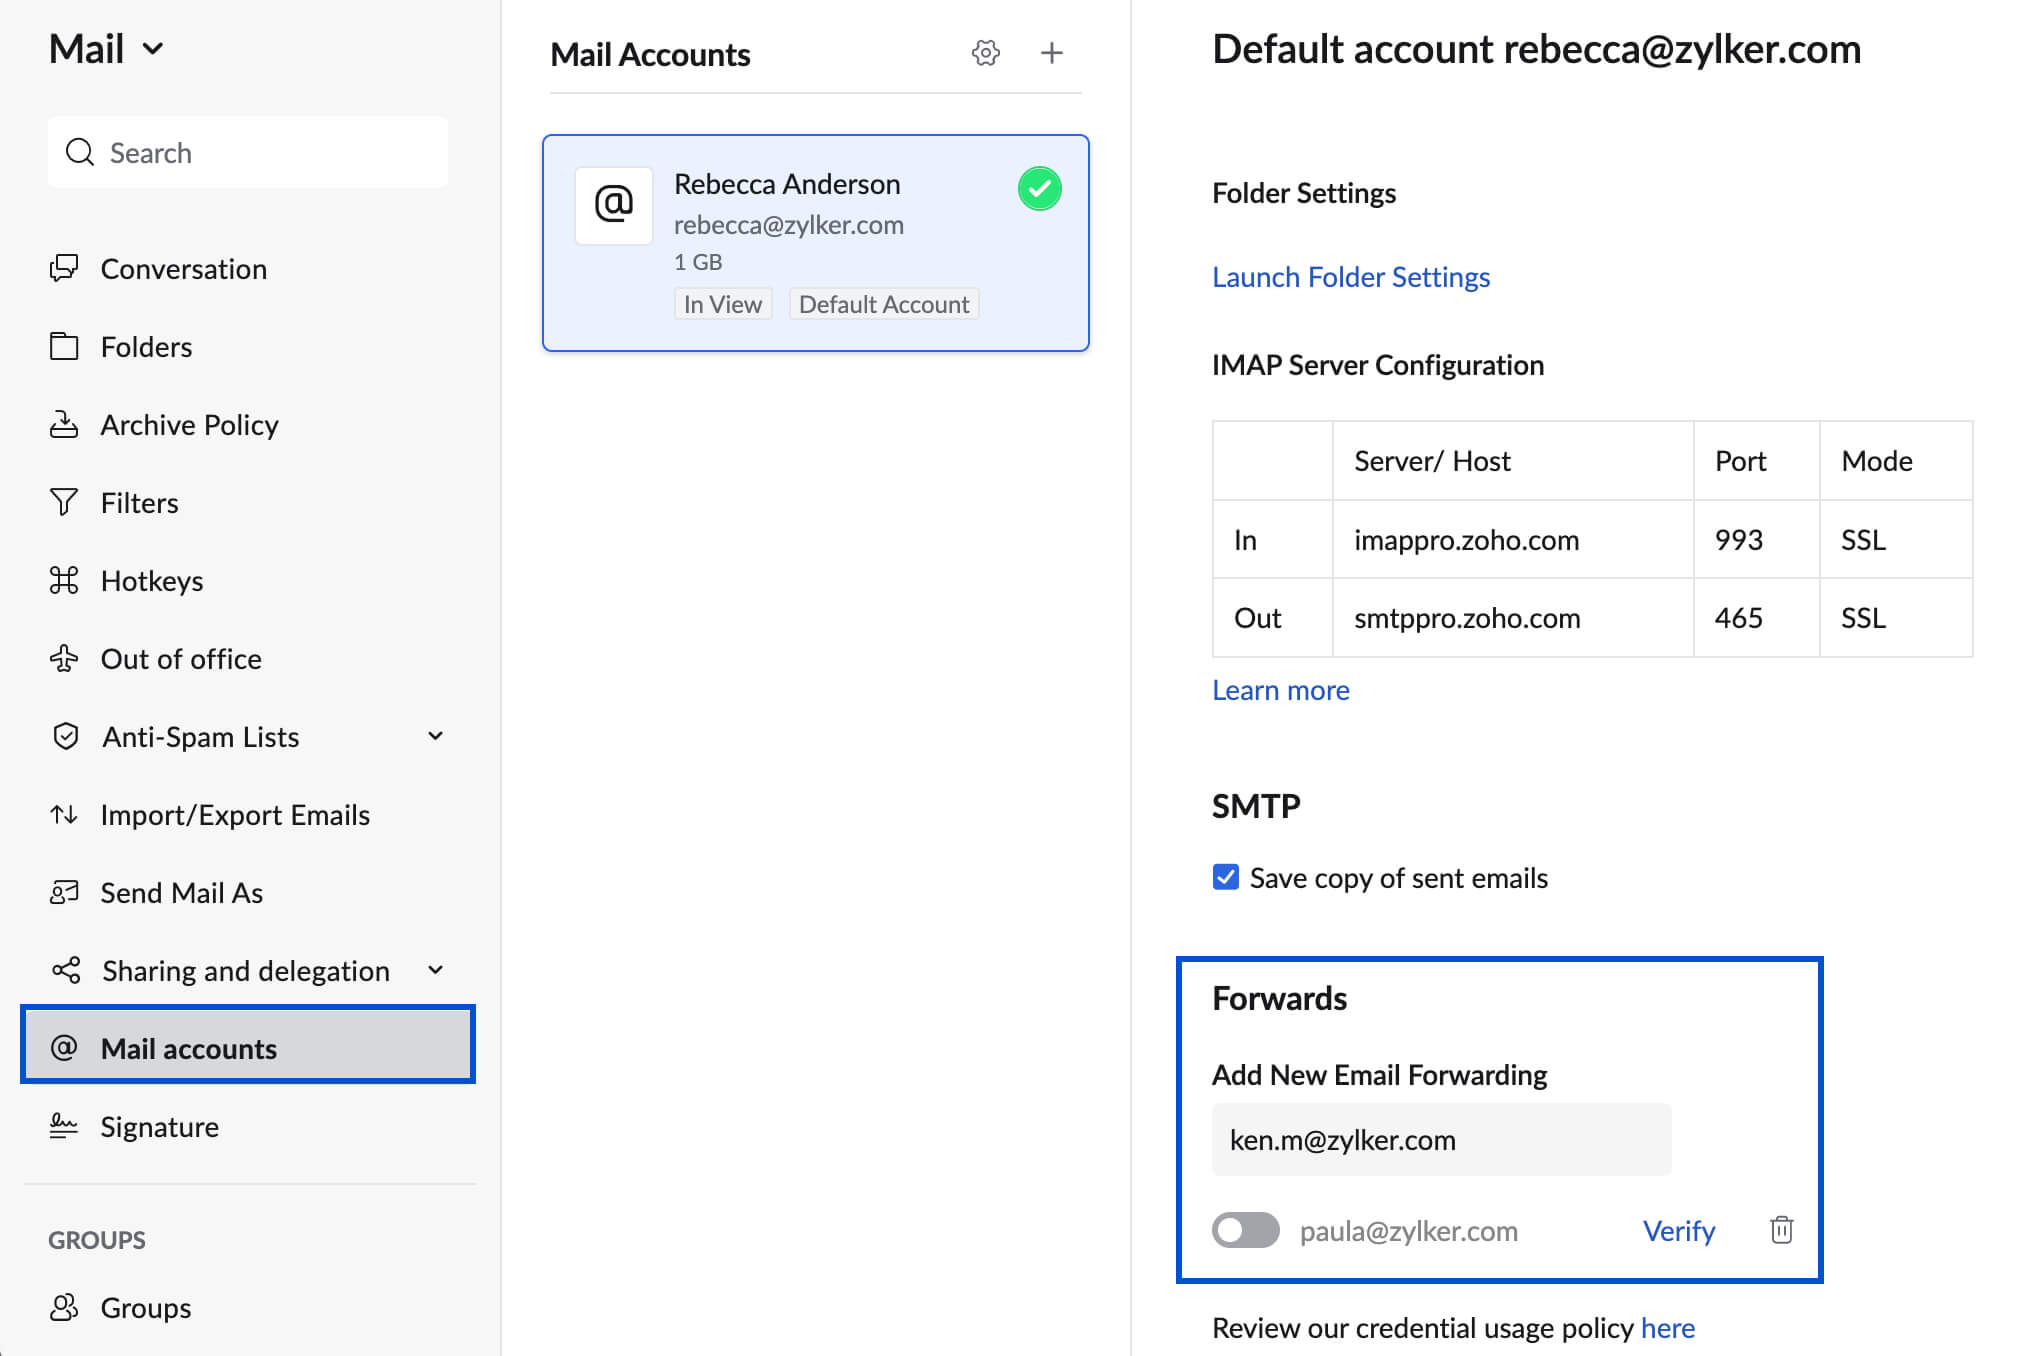
9. Confirm Forwarding Setup
A confirmation email will be sent to the forwarding address. Verify the email to activate the forwarding feature.
10. Manage Retention Settings
If you wish to delete the original email after forwarding, check the Delete original email copy after forwarding option. Leave this unchecked if you want to retain a copy of the forwarded emails in your Zoho mailbox.
Important Note:
If you choose the Delete original email copy after forwarding option, the original emails will be deleted from Zoho Mail immediately after forwarding, and they will no longer be available for POP retrieval.
By following these steps, you’ve successfully integrated Zoho Mail with ChatMaxima, allowing you to manage all your email communications from a single platform. This integration enhances workflow efficiency, enabling seamless customer support and marketing campaign management within ChatMaxima.