How do I use existing templates?

Create personalized chatbots effortlessly with ChatMaxima's user-friendly platform. Choose from diverse templates, customize content, and connect seamlessly to enhance user interactions across various categories. Simplify bot creation and deployment in just a few easy steps.
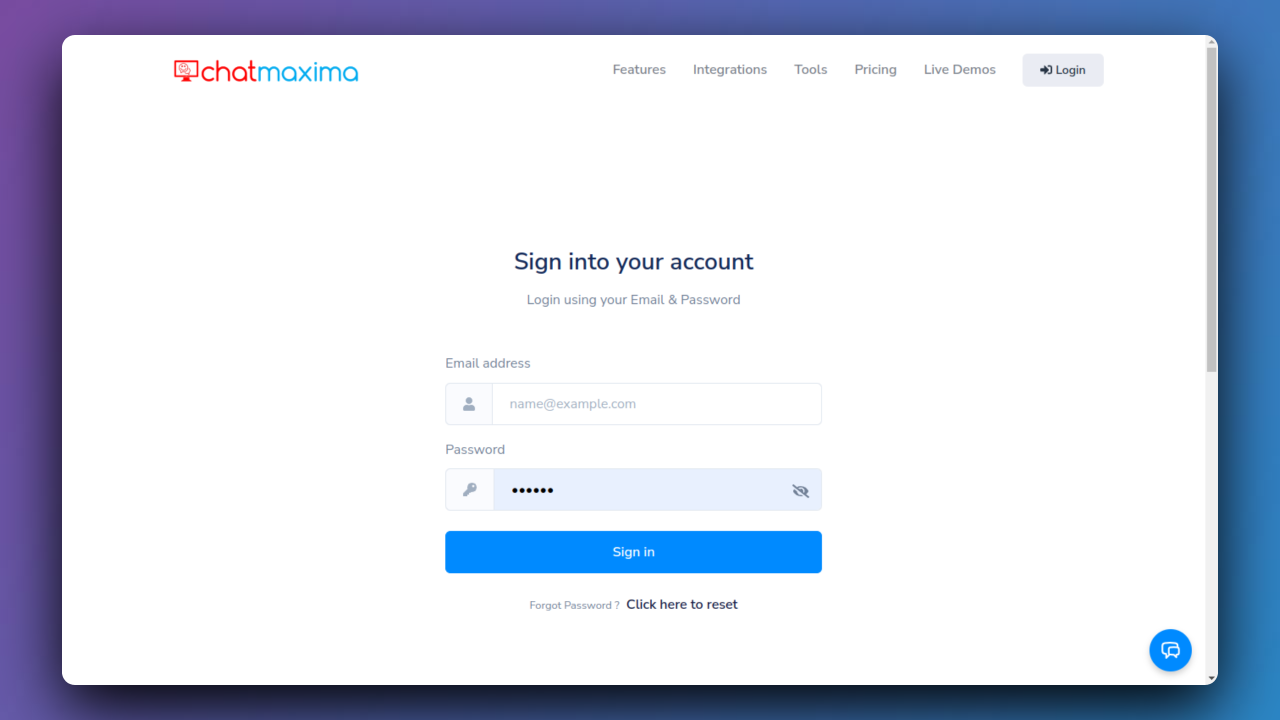
Step 1: Log in to ChatMaxima
Begin by logging into your ChatMaxima account. Once logged in, navigate to the "Bot Builder" section to access the tools for creating and managing your chatbots.
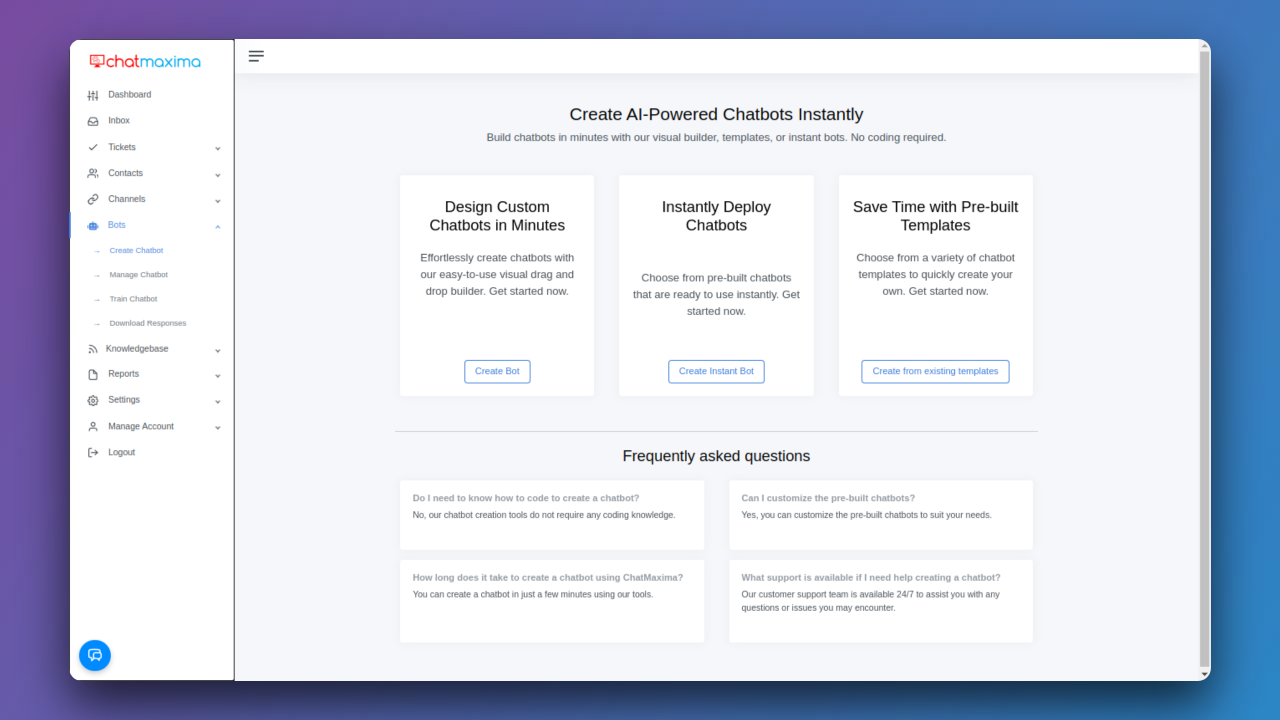
Step 2: Create a Bot
Initiate the bot creation process by clicking on the "Create from existing templates" button. This action will set the foundation for building and customizing your chatbot according to your specific needs.
Step 3: Bot Building
Select the option "Create from existing templates" to leverage pre-built chatbot templates from our extensive library. These templates cater to various categories, providing a starting point for your chatbot. Personalize the chosen template with your content and branding to make it uniquely yours.
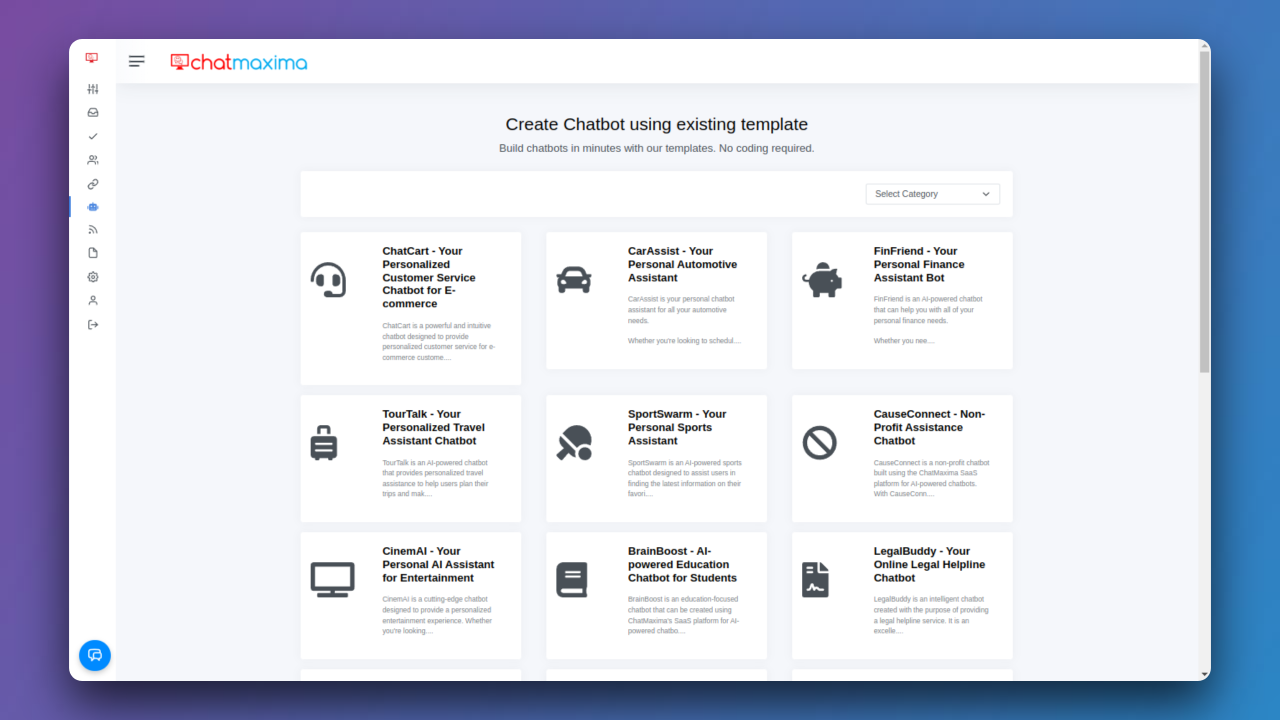
Step 4: Select Category
Explore the diverse categories available for your chatbot, such as automotive, banking, customer service, e-commerce, education, food, gaming, government, healthcare, HR, insurance, legal, manufacturing, media and entertainment, nonprofit, real estate, recruitment, retail, sports, and travel. Choose the category that aligns with the purpose and functionality you envision for your bot.
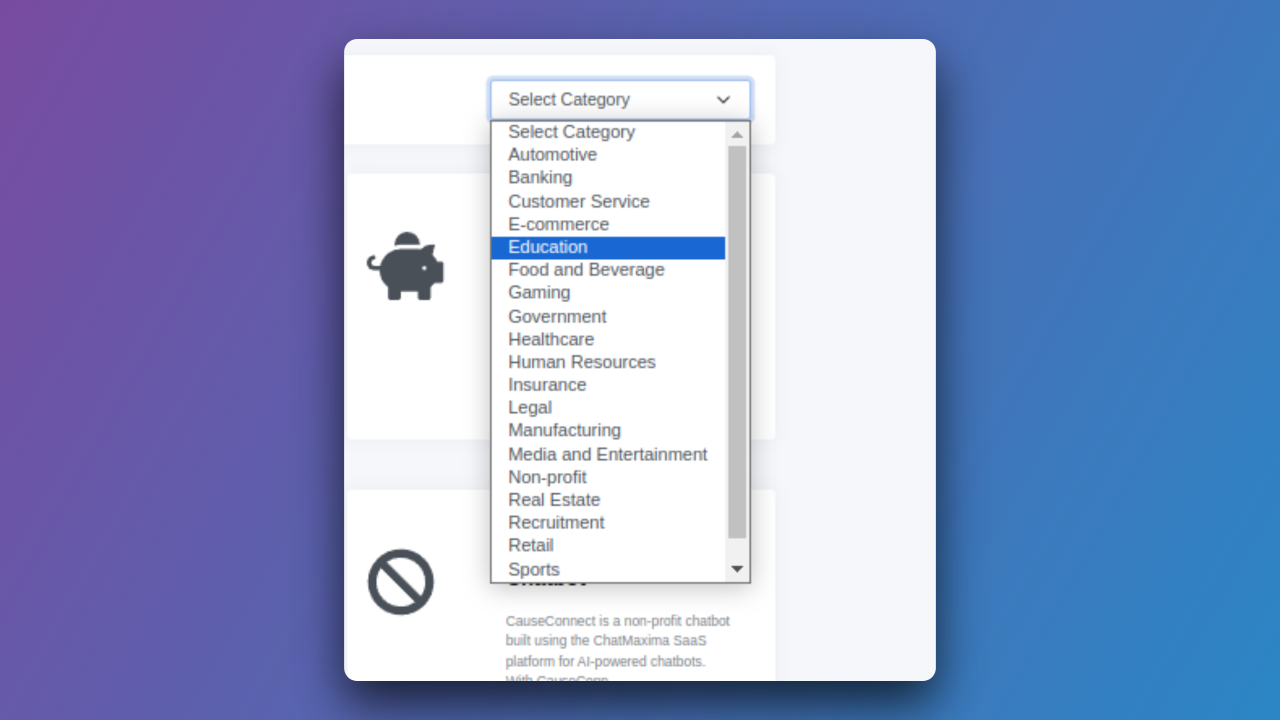
Step 5: Click on the Link to Open the Existing Bots
Access existing bots within your chosen category by clicking on the provided link. This step allows you to review and potentially modify bots that have already been created.
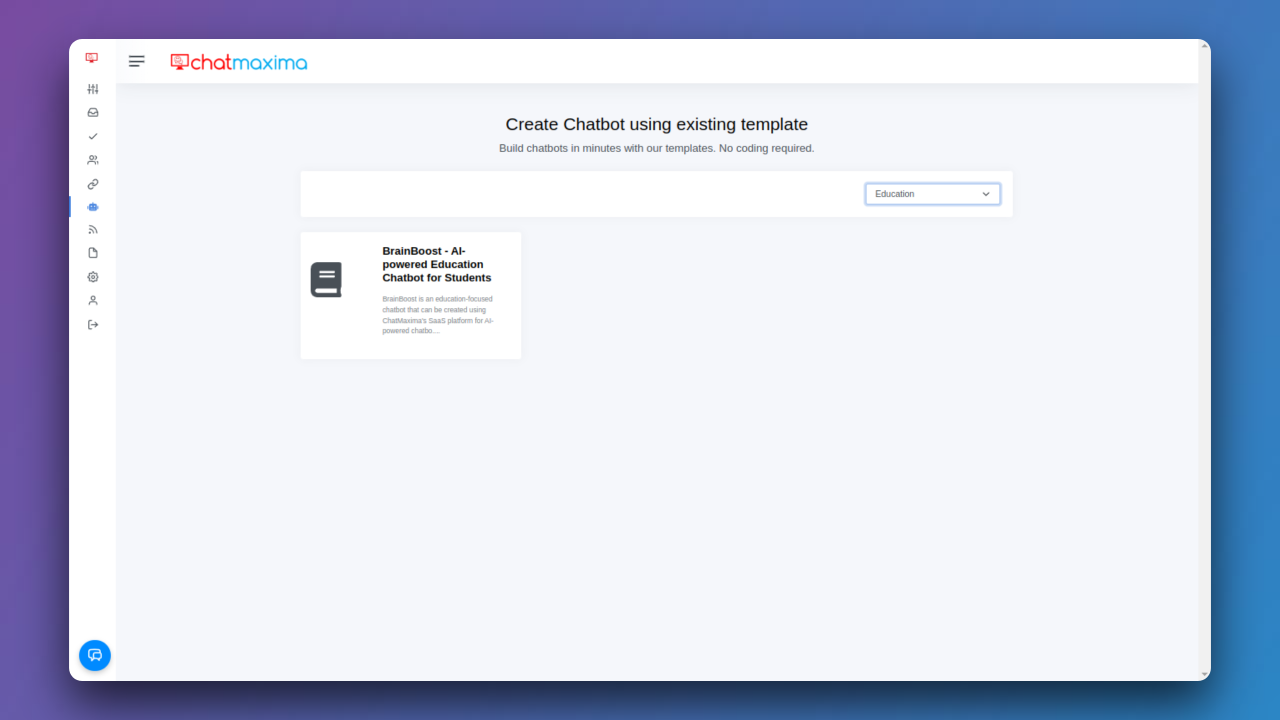
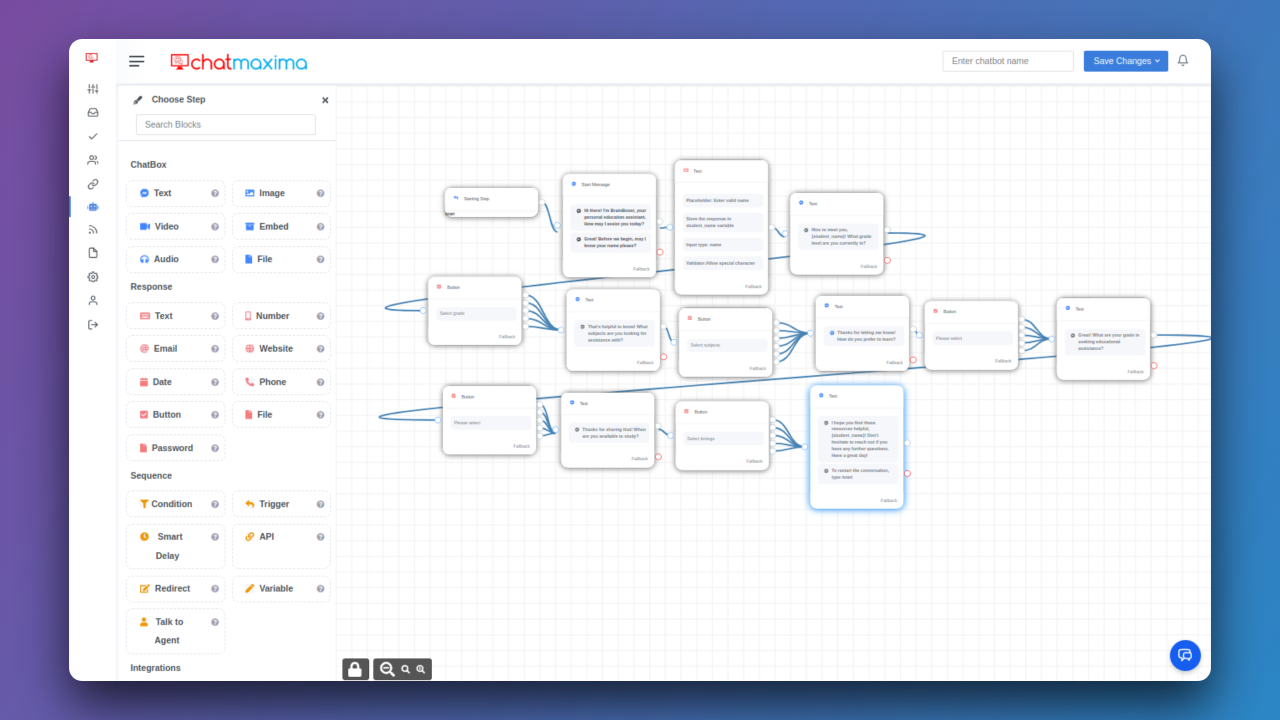
Step 6: Edit the Bot
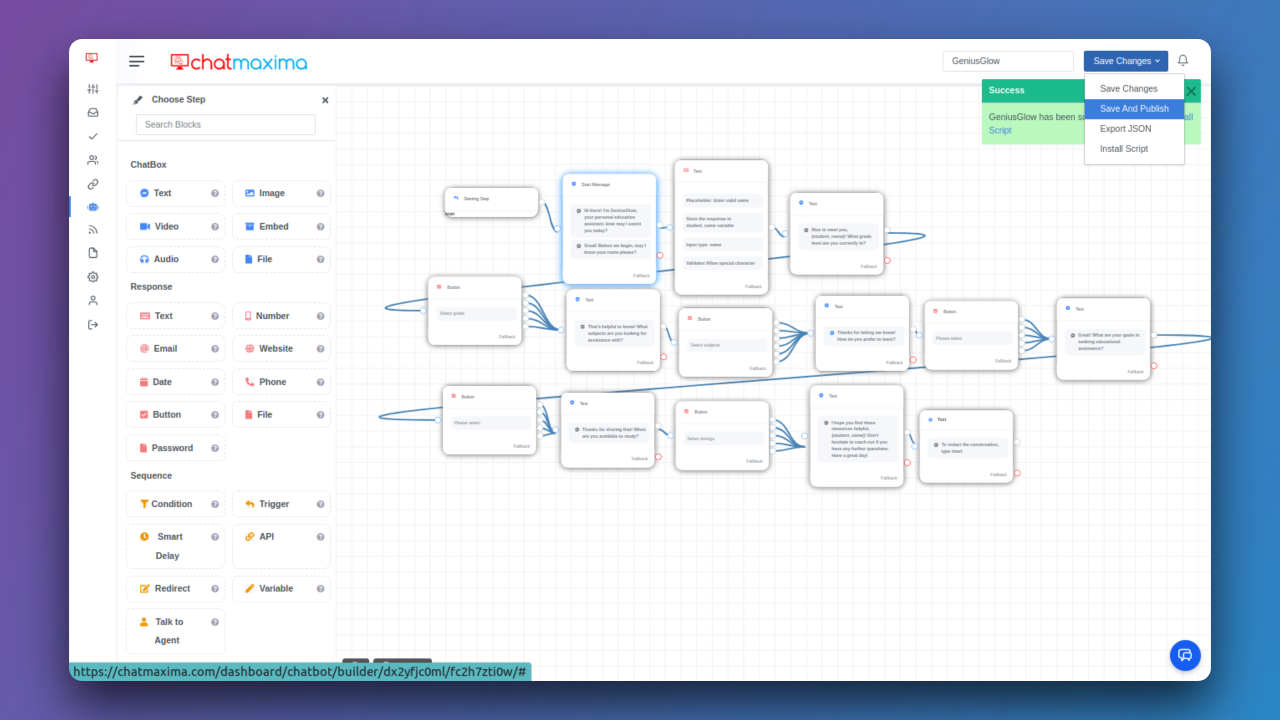
Upon opening the existing bot, you'll have the opportunity to edit and customize its features. Tailor the content, responses, and workflows to better suit your requirements. This step ensures that the bot aligns precisely with your intended use case.
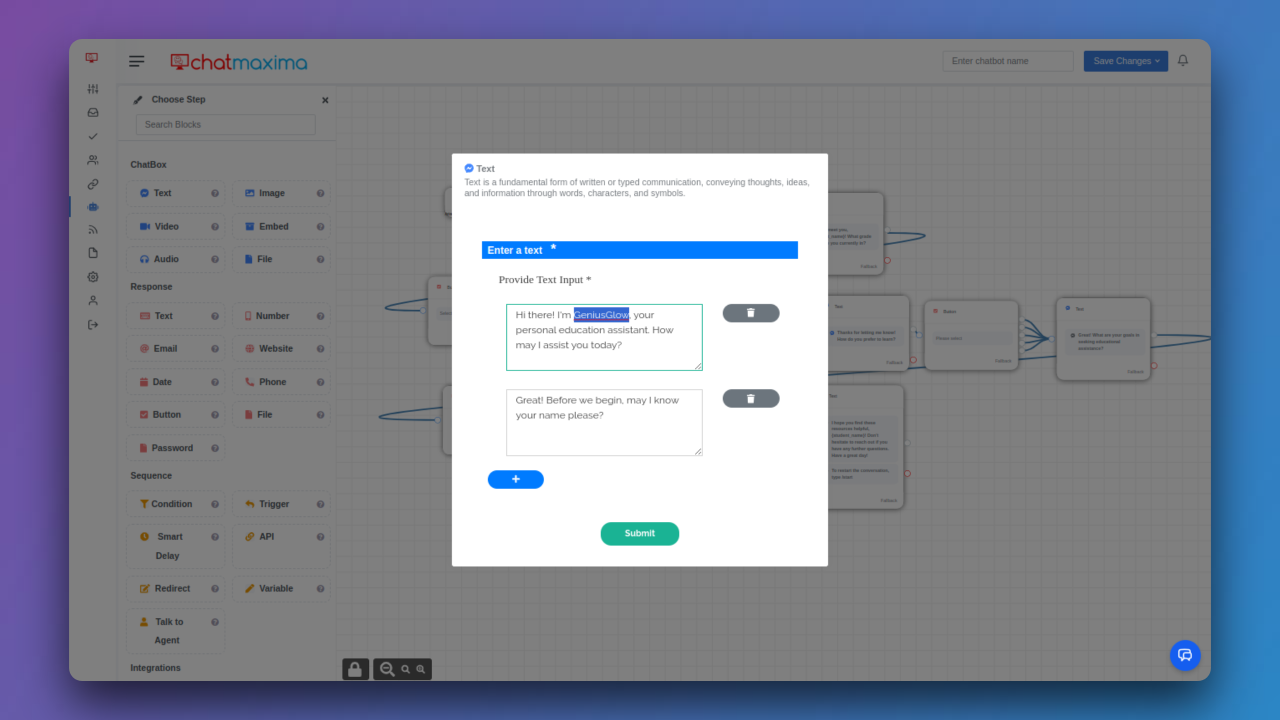
Step 7: Give a Name and Click Save and Publish
Assign a name to your customized bot and proceed to save and publish the changes. This finalizes the modifications you've made, making the bot ready for deployment and interaction.
Step 8: Connect the Bot
Choose the preferred communication channels for your bot by connecting it through options like LiveChat, Facebook, Telegram, and WhatsApp. This step expands the reach of your chatbot, allowing users to engage with it through diverse platforms.
