How Can You Seamlessly Connect WhatsApp Template in ChatMaxima?

Welcome to ChatMaxima, where communication is made simple and engagement effortless! This guide will walk you through the easy steps to connect your WhatsApp account to ChatMaxima, unlocking a world of efficient message management and engagement. Whether you're a new user exploring our platform or an existing one seeking enhanced communication channels, our step-by-step instructions ensure a smooth integration, free of charge. Elevate your messaging experience with ChatMaxima and stay effortlessly connected.
Step 1: Signup for a ChatMaxima Account / Login with your Existing Credentials
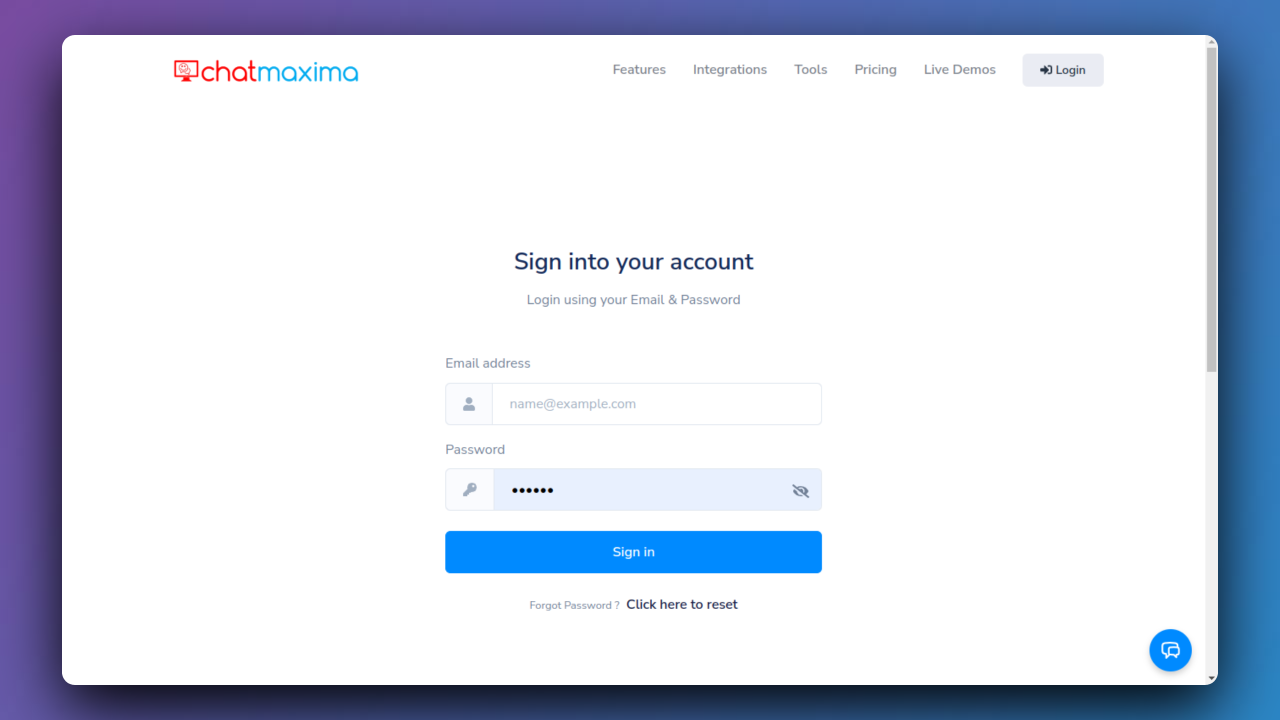
To get started, Sign up for a ChatMaxima account and explore the platform with our free subscription. If you're already a user, Log in using your existing credentials. This step unlocks the potential for seamless communication and engagement at no cost with our complimentary subscription.
Step 2: Accessing ChatMaxima Dashboard
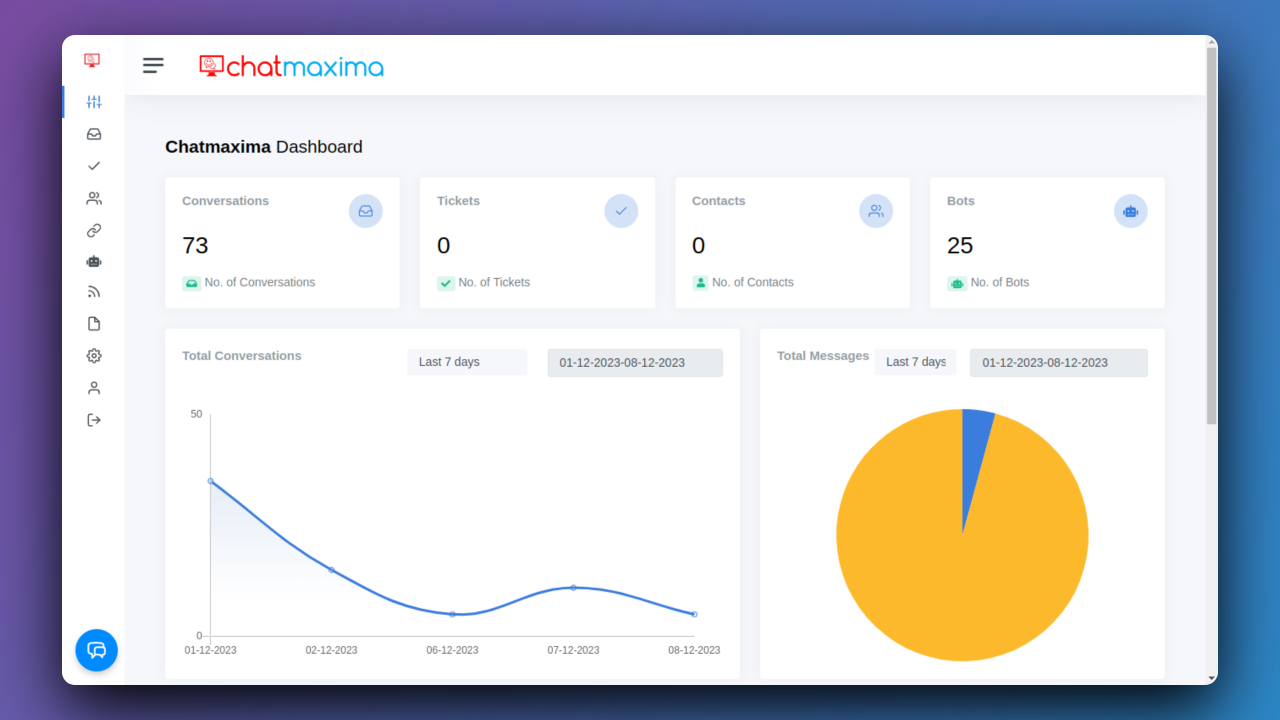
After login, the ChatMaxima Dashboard opens, providing a central hub for your activities.
Step 3: Open ChatMaxima Campaigns
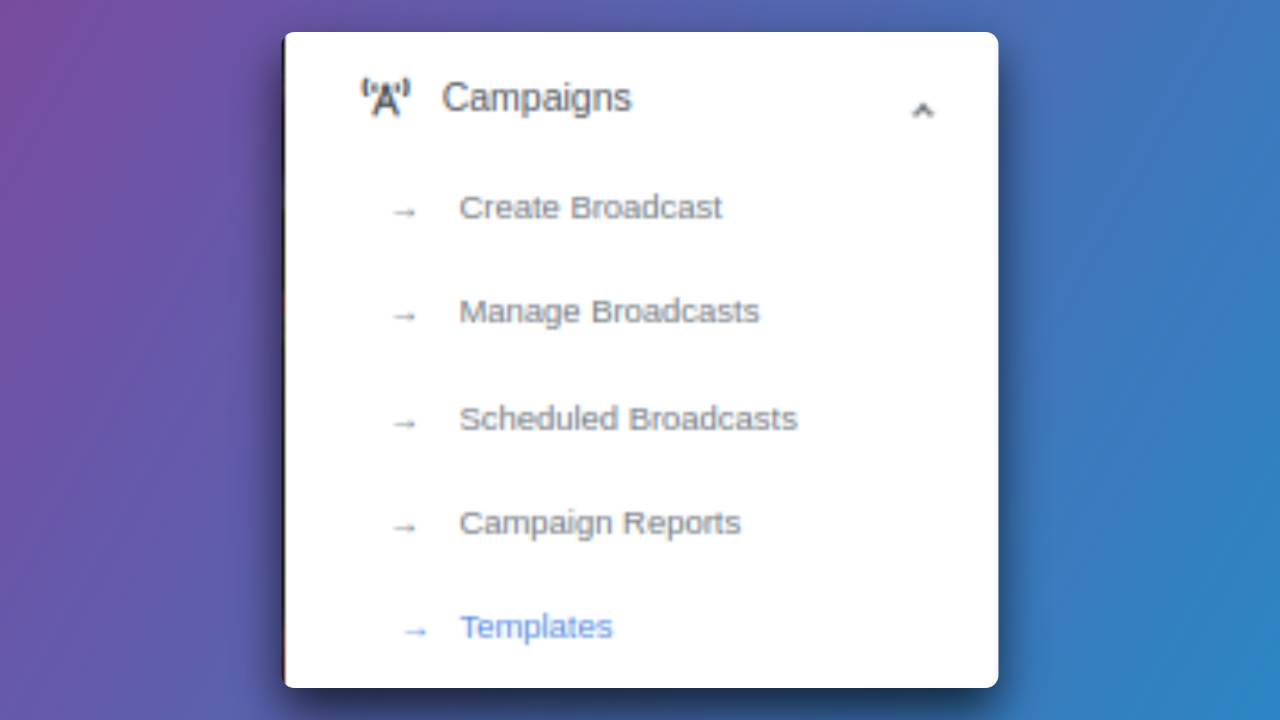
Navigate to the Campaigns section within ChatMaxima to explore the Templates feature.
Step 4: Create Templates
Design WhatsApp templates to streamline responses across various messaging apps within a single shared inbox. Enhance your sales strategy by crafting effective WhatsApp templates for engaging with numerous customers.
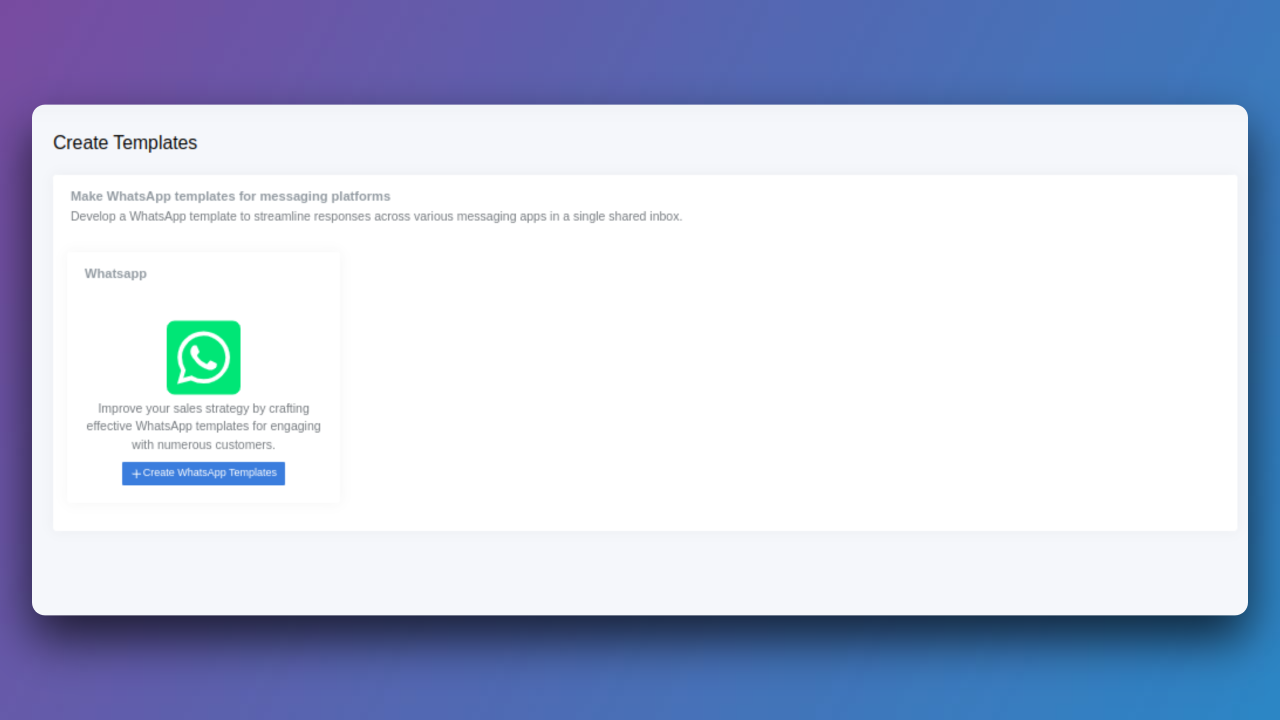
Step 5: Create a New Template
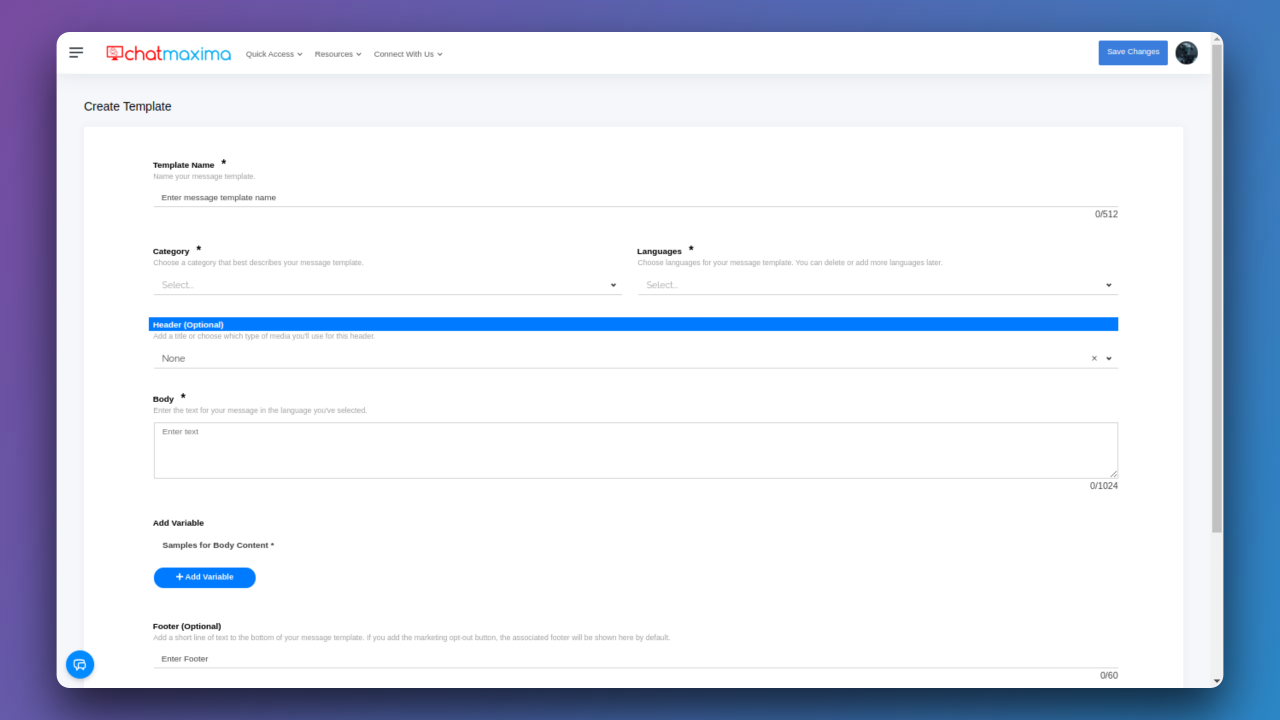
Create a new template to send messages repeatedly instead of typing out specific words. You can save variables as placeholders, such as {{1}}, and add them to your message template. Here's how:
a) Template Name: Give your message template a name.
b) Category: Choose a category that best fits your message template.
c) Languages: Select languages for your message template. You can add or delete languages later.
d) Header (Optional): Add a title or choose the type of media you'll use for the header (Text or Media).
e) Body: Craft the main content of your message template.
f) Add Variable: Insert variables for dynamic content.
g) Footer (Optional): Include a short line of text at the bottom of your message template. If you include a marketing opt-out button, it will appear here by default.
h) Buttons: Create buttons for customers to respond to your message or take action.
Step 6: Go to Inbox
Navigate to the Inbox section.
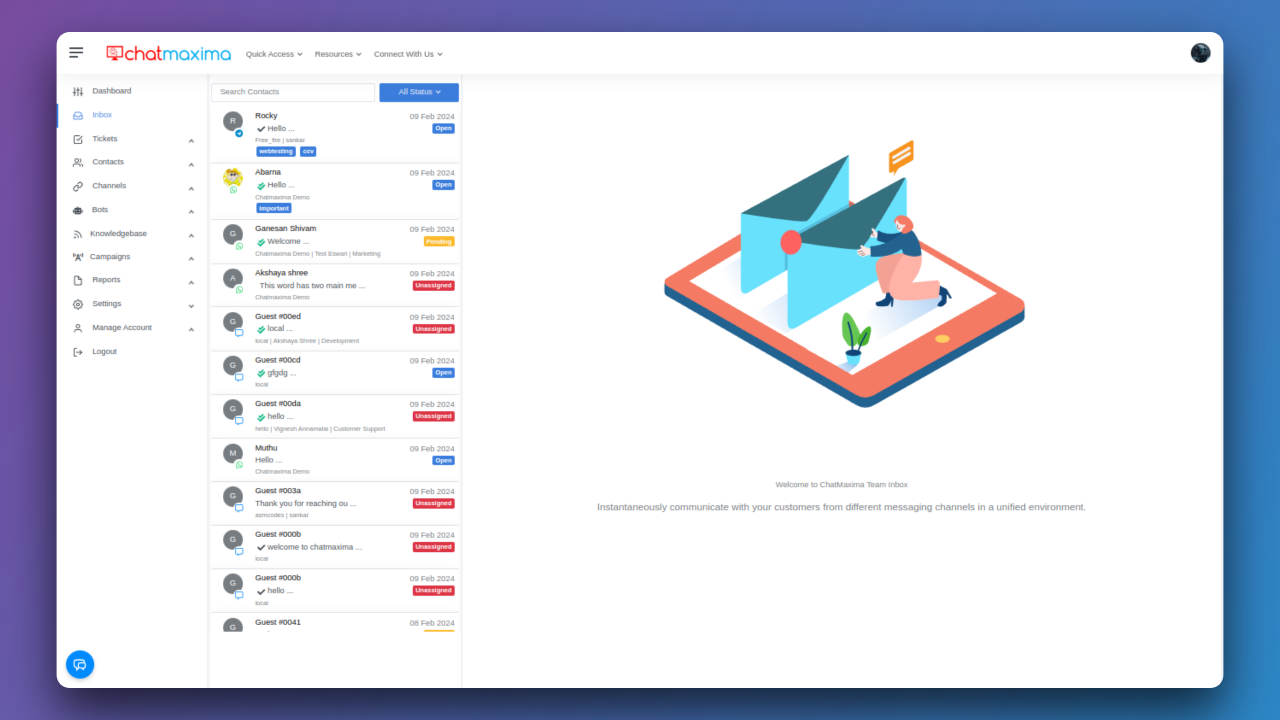
Step 7: Manage Templates
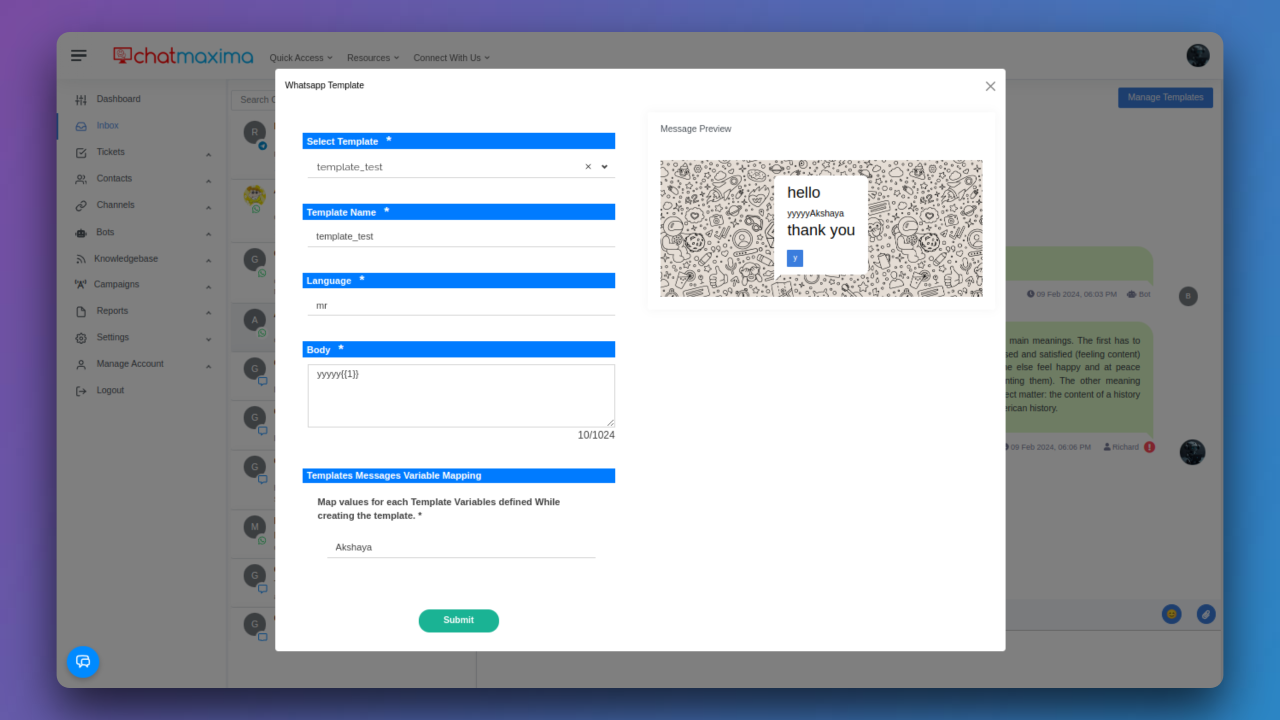
Click on "Manage Templates" and select the desired template. Replace the word {{1}} with the specific word you want to use. Preview your message on the right side, make any edits if needed, and then click "Submit."
Step 8: Receive the WhatsApp Message
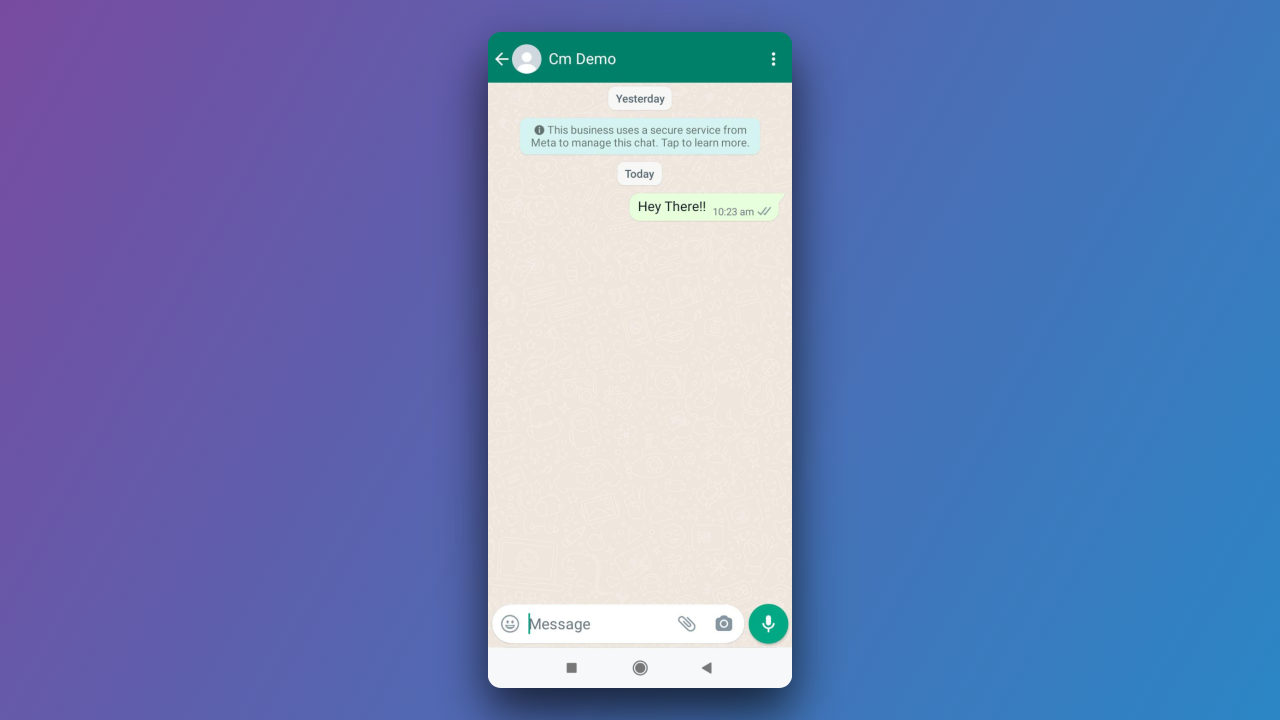
Your WhatsApp message will be received in your WhatsApp account.
